Learning at home can be really fun! Especially with these fun chemistry experiments for kids.
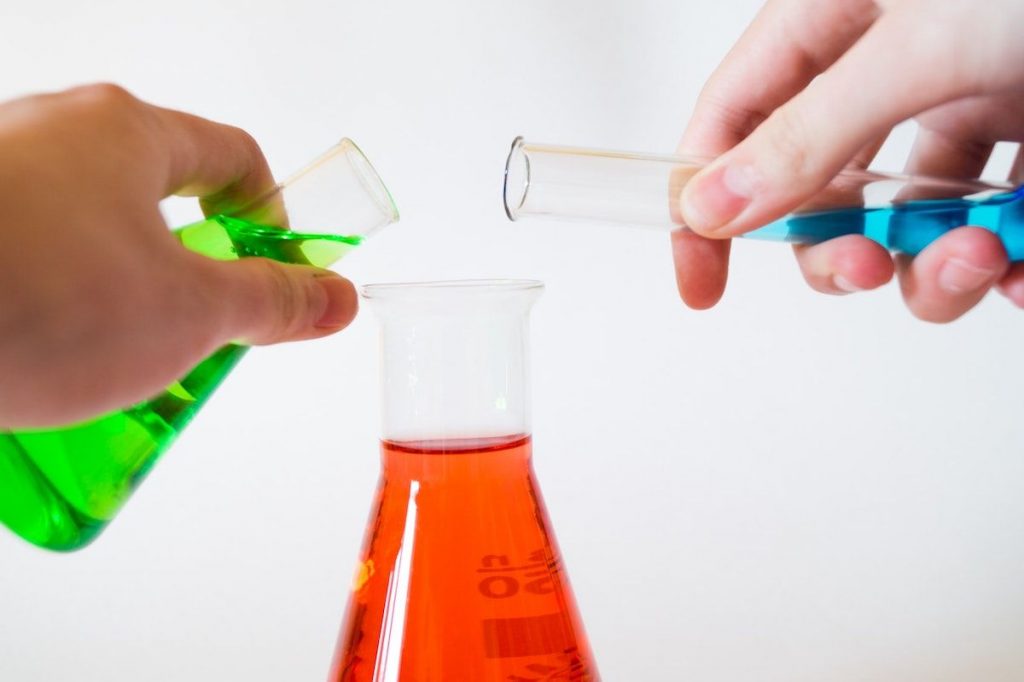
Kids love seeing their “volcano” explode or creating slime, and both are experiments involving a chemical reaction! They are easy chemistry experiments to do at home.
So, if you’re looking for a fun way to keep your kids engaged in learning at home, keep reading to see some of our favorite easy chemical reactions experiments.
Table of Contents
What is the field of chemistry?
Chemistry is the area of science that deals with matter, which is everything that surrounds us, and the way it changes. With kids, you might explore the various states of matter (liquids, solids, and gases) and simple chemical reactions.
Why are chemistry experiments for kids a valuable learning experience?
Chemists create things that we use in our everyday lives. They also improve products that we already have, to make them safer and more effective.
At an early age, your budding scientists can gain and build upon scientific knowledge to make predictions related to chemistry. This early success could lead the way for future achievement in this important area of science.
6 Fun Chemical Reaction Experiments for Your Children
Now, let’s get started with our favorite chemistry experiments for kids! Here you’ll find all of the directions you need, plus discussion questions to ask after the experiment is complete.
1. Erupting Volcano
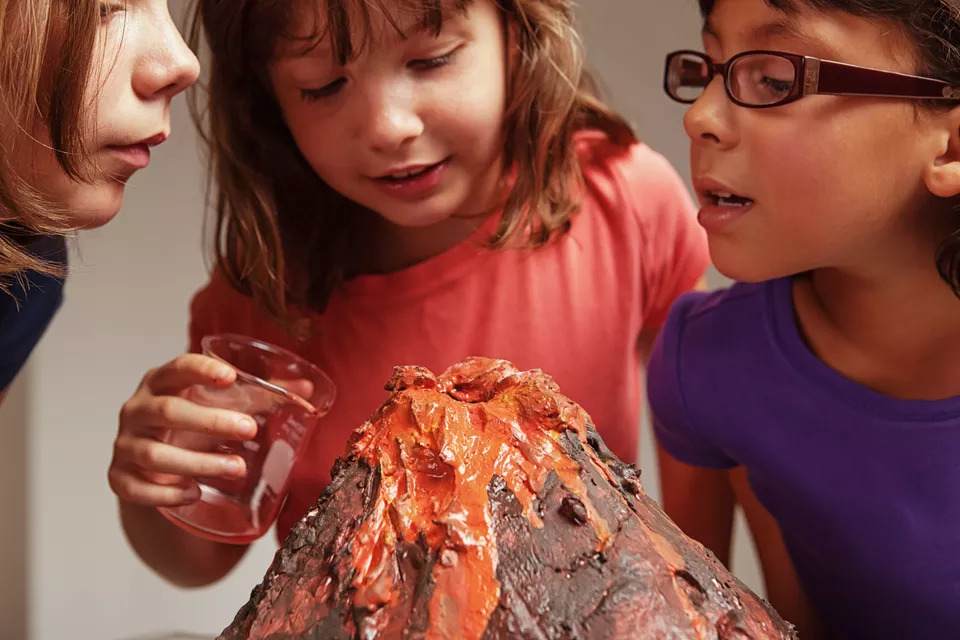
Here’s an outdoor chemical reaction experiment to share with your child. Volcano structures can be made out of papier-mache or merely from a mound of sand or small stones/gravel. Either way, you’ll likely want the eruption to take place outdoors. “Lava” is produced from an eye-popping chemical reaction. You’ll need the following ingredients for this experiment:
- dish soap
- cold water
- white vinegar
- red food coloring OR washable paint
- baking soda
- empty water/soda bottle OR plastic cup
1st Method: Papier-Mache Volcano
This is the classic method of building your own papier-mache volcano first, which is a fun craft in itself. Then follow these directions:
- Mix 3-4 drops of dish soap, 1 tbsp. of warm water, ⅓ cup of white vinegar, and 2 drops of red food coloring in the bottle.
- In a measuring cup, add just enough water to 2 tbsp. baking soda to stir and make a pourable liquid.
- Add the baking soda mixture to the ingredients in the bottle placed inside the papier-mache volcano. Move back for the eruption!
2nd Method: Outdoor Gravel Volcano
For a faster experiment with less clean-up, create your volcano outside using gravel and dirt.
- In a large plastic cup filled about 1/3 with water, add 3-4 tbsp. of baking soda, 1 tsp. dish soap, and at least ½ oz. of red, washable paint. Stir to combine.
- Form the volcano with sand or small stones/gravel and place the cup on top.
- Add about 1 cup of vinegar and watch it erupt!
After the experiment, consider this discussion question:
What makes the reaction? Carbon dioxide is formed when the baking soda is combined with the vinegar, which is an acid. Carbon dioxide is also what makes the fizz in soda pop.
2. Exploding Colors Science Experiment
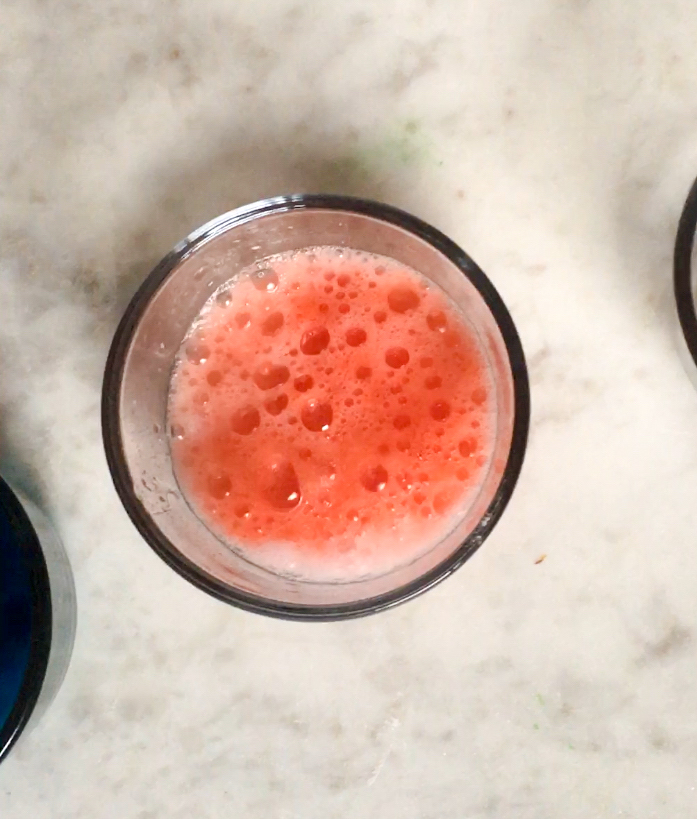
For a fun and easy alternative to creating your volcano, check out our exploding colors experiment. This is also a backing soda and vinegar reaction, but we turned it into a little game too!
In this experiment you need:
- baking soda
- vinegar
- 3-4 small containers
- food coloring
Instructions:
- Place a few drops of food coloring into each container. Use a different color in each bowl.
- Cover the food coloring with the baking soda.
- Mix the containers around and have your kids guess which color they think will explode.
- Pour the vinegar into the bowl, and observe which color comes bursting forth. Each time you get the correct color, you score a point.
Bonus learning: This is a great experiment for both chemical reactions, but to also have younger kids practice the process of elimination. If blue has already been a color that has exploded, what colors are remaining?
3. Explore Liquid vs. Solid with Oobleck
If your child isn’t yet familiar with the book Bartholomew and the Oobleck, by Dr. Seuss, this would be a great opportunity to read that entertaining story together. Or read it again just for the fun of it!

To help your child make oobleck, gather these household ingredients:
- cornstarch
- water
- food coloring (any color, but green matches the book)
Instructions:
- In a bowl, mix about 1 ½ cups of cornstarch with 1 cup of water. Start by using a spoon, and then switch to hands as the mixture gets closer to a solid. If need be, use up to 2 cups of cornstarch.
- Add and distribute the food coloring evenly.
- Your child could play with the interesting results over the dish or over a large cookie sheet: squeeze, ooze, and puddle!
Discuss: Why does oobleck act this way? The water and cornstarch make a liquid similar to quicksand. Applying force makes it even thicker.
For more information on oobleck, we recommend this article.
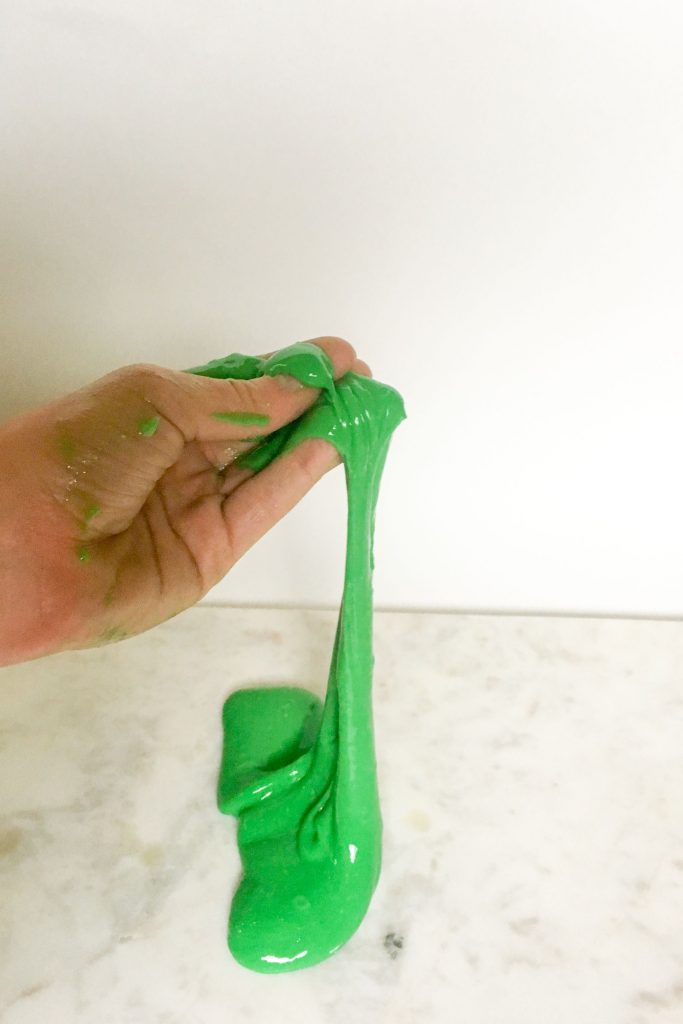
Bonus Experiment: Check out one of our similar activities to make slime!
4. Watch Fireworks in a Jar

To help your child make their own fireworks in a large Mason or Ball jar, you’ll also need these materials:
- vegetable oil
- 4 colors of liquid food coloring
- small glass bowl or jar
- warm water
Instructions:
- Fill your large jar ¾ full with warm water.
- Add 4 tbsp. of the oil and 4 drops of each color into the small bowl or jar. With a fork or spoon, mix those slowly to separate.
- Carefully pour the mixture onto the water in the large jar.
- Watch the fireworks display!
Discuss: Why do the oil and water act this way? As an exploration of liquid density, we find that oil and water don’t mix, even though they’re both liquids. They have different densities because of differences in their molecules. Food coloring acts more like water and will dissolve into the warm water, leaving the oil separate.
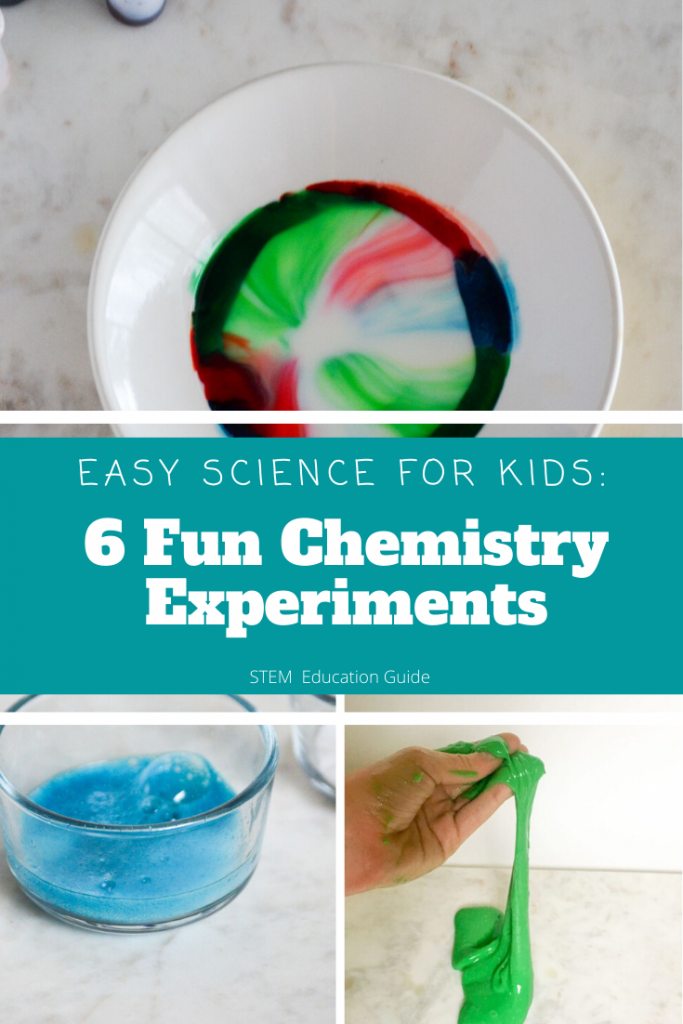
5. Skittles Chemistry
All you need for this activity is Skittle candies, water, and several light-colored plates.
Then, follow these instructions:
- Children arrange the candies around the inside edges of the plates in whatever type of patterns they wish.
- Slowly pour water into the middle of each plate until candies are barely covered.
- Watch the intriguing designs that appear.
Discuss: Why does this happen? The candy ingredients, like sugar, dissolve in water. This is a great experiment to discuss the differences between physical and chemical changes. This experiment is showing a physical change – not a chemical change, making it a unique experiment in this list!
6. Make Fake “Snot” (No Tissues Required!)
This is a science experiment for kids looking to make something “gross!” It would make a great creepy activity around Halloween. And guess what? This snot is also edible!
To make this pretend snot, make sure you have the following items:
- plain gelatin
- corn syrup
- boiling water
- food coloring (optional – if you want some especially icky “greenish” snot!)
Instructions:
- Help your child by bringing ½ cup of water to a boil and pour into a large glass bowl.
- Add 3 tsp. of plain gelatin. Soften and stir with a fork.
- Add ¼ cup of corn syrup. Stir and watch gunk and strands begin to form.
- Cool and add more water, if needed for desired consistency.
Discuss: Why does this look so much like snot/nasal mucus? The protein in the gelatin and the sugar in the corn syrup form something very similar to the molecules in nasal mucus.
We hope your family loves these chemistry experiments at home too! What are your favorite chemical reactions to observe? We’d love to hear your feedback and favorites in the comments!