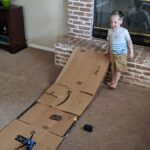
It is always fun being with your kids doing fun activities at home.
In this article, you’ll learn fun paper-folding activities; this is a step-by-step process you can do with your kids.
You can do many activities with your kids at home, but if you want artistic and creative, Origami might be for you.
Table of Contents
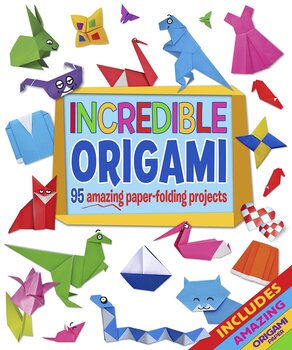
Awesome Paper Folding Samples

In this activity, you can do it with any colored, art paper, or special paper, as long as it is easy and soft to fold. But it is recommended and advisable that when you use origami paper.
We picked up some origami paper that was easy to use. You can find the same paper here.
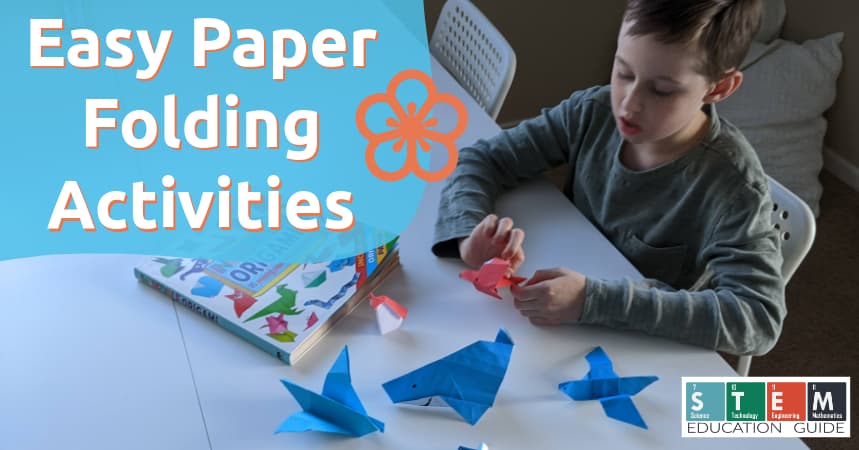
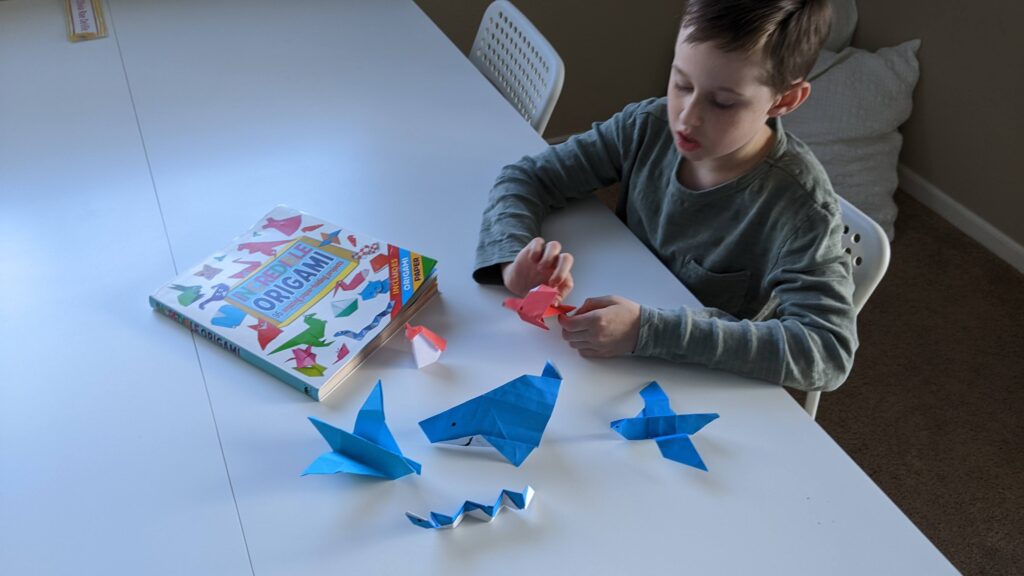
With all the materials needed and the active listening of your kids, then you are ready to do the folding activity.
Before we start, I highly recommend this book we picked up about Origami. It’s made for kids (or anyone really) that’s just getting started from easy to more complex Origami. You can see if the book is still available here. It even comes with paper to get started.
Paper Shark
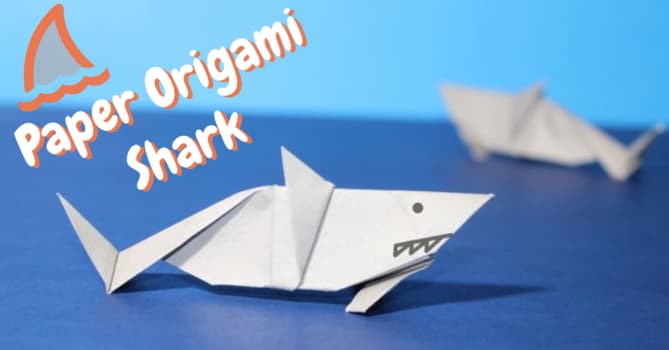
You can use glossy paper; or a regular one, but photo paper also works well. Your kids will surely love this little shark. If the shark template is printed, cut out the squares with the shark design, and don’t forget to include the fins.
- Start to fold the square paper in half to make a line. Make sure the paper folding is firm so the crack between the fold areas will not be visible. If you do it firmly, it will be easy to create this folding shark.
- Turn around the paper and fold it again over the middle. Fold and unfold. Do not forget to flip it over, and be sure that the white side is facing you.
- Then you can fold the rest of the four corners towards the middle. Flip the paper again, and see if the white side is facing you and the design is facing the table. Then fold the four corners once again.
- Always double-check if the folding process is firm so that it will be neat and fantastic. After that, fold the square shape in half to get the long rectangle shape.
- If the shark’s teeth are inside, you are in the exact folding process. Then, if it is firm and pleasant, you can add the fins; so that your shark will look fiercer but adorable, and there you go. You can enjoy your cute paper-folding shark.
Paper Flower
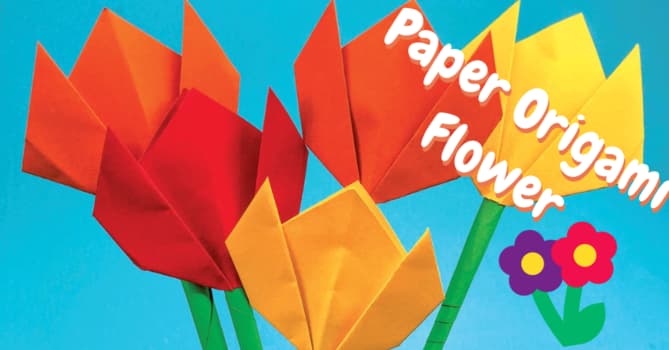
Choose the color you or your children want for their paper flowers; making this origami flower will be an easy and colorful one that you can display on your wall as part of your decorations.
- Step one twice folds the paper.
- Step two is to fold one end over the other.
- Step three, do it to the remaining sides.
- Step four is to fold the side again to face upward.
- Step five, open up the one you folded and fold them into a square shape.
- Step six, repeat the same fold on the rest of the remaining sides.
- Step seven fold the triangle down, then push the triangle down and flip.
- Step eight, fold up the triangle shape and fold two squares from the bottom up.
- Step nine, pinch the top area with a twist.
- In the last step, fold down the sides to create petals, and you can twist them more to achieve the perfect shape of the flower.
When you finish the flower, you can add leaves on the bottom of the paper flower to make it look realistic and place it on a stem like a stick so that you can put it in a vase or place it in a frame to add your wall decorations.
Wrapping Up
In this paper-folding activity, you strengthen the bond between you and your kids while having fun. I also think this is one of the best activities you can do with them. It allows you and your kids to build proper communication because of the quality time invested, in which you can also have some fun.