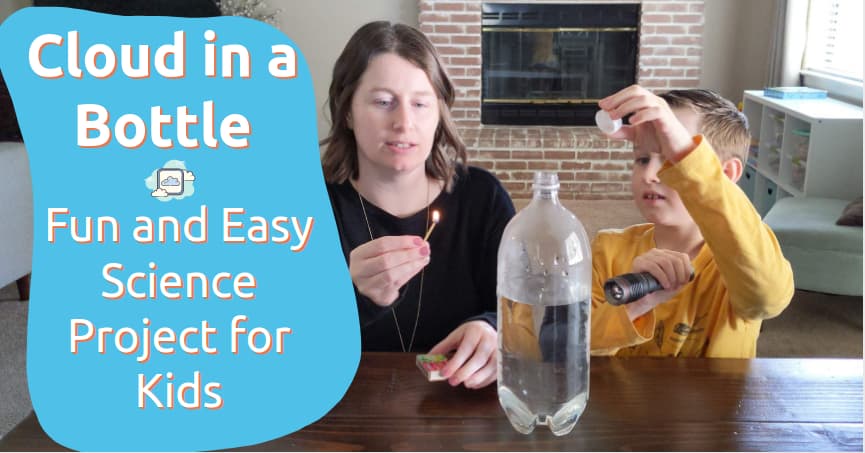
How cool would it be to make a rain cloud yourself? This is a fun science project for kids that teaches them all about weather and how clouds are formed.
Clouds are just tiny water droplets that form at different altitudes according to the conditions of the environment. While this is a fun experiment to try, it can also be a bit tricky and sometimes hard to see. So, be patient, and you and your kids can create something amazing together.
Table of Contents
Learning Goals
The cloud in a bottle activity is designed for students to:
- Create cloud in a bottle
- Observe, describe, and discuss cloud formation
- Use the guided experiment method to answer, “Why do clouds form” and “What does it have to do with the weather?”
In this experiment, students will discover the three ingredients that are needed for cloud formation. These include condensation, temperature, and moisture. Condensation and evaporation are part of how a cloud forms.
Before we get into cloud experiments, grab my free eBook with over 25 STEM experiments for kids. For all my free downloads, check out this page.
Materials
- One or two-liter plastic bottles with a cap
- Hot water
- Measuring cup
- Match (with adult supervision)
- Labels and marking pens
- Flashlight
Process One
- Label one bottle control and the other two “A” and “B”
- Pour enough cool water into the bottles to cover the bottom of the bottles
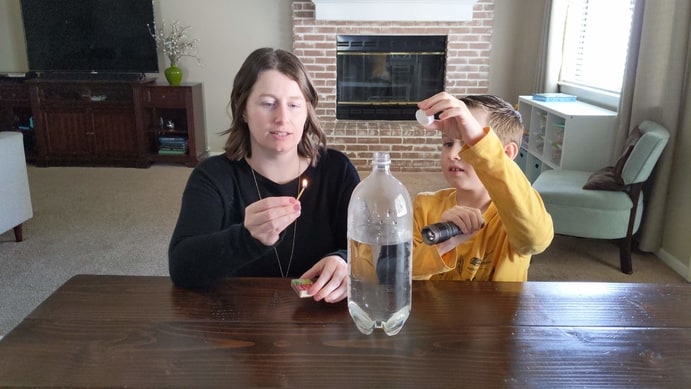
- Light the matches with an adult’s assistance and drop them into the control bottle. Very quickly, screw the cap onto the bottle. Ensure you have trapped the smoke from the burning matches inside. Don’t worry that the water put out the matches. Smoke particles are trapped in the air inside the bottle. Shake the control bottle for a few minutes.
- With the bottle upright, squeeze it to increase the pressure inside
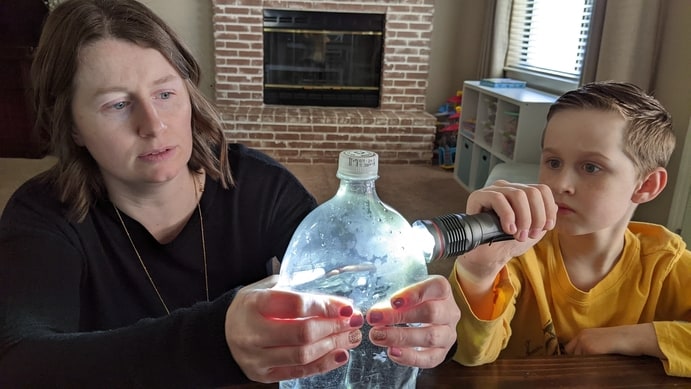
- Have your child hold the flashlight so that it shines onto the bottle
- Have your child observe as you quickly unscrew the cap. Doing so will lower the air pressure inside the bottle. You should expect a cloud to briefly form inside the bottle. Make sure to watch carefully! The cloud might only last for a few seconds. Have your child record their observations as any researcher would.
- Repeat steps three and four with bottle “A.” In this case, do not remove the bottle cap. Observe the bottle for at least three minutes. Is there cloud formation without a sudden drop in air pressure?
- Your last bottle- bottle “B” should not get any matches. Cap, the bottle, shake it several times, and quickly uncap it to change the air pressure. Make your observations for at least three minutes. Is there any cloud formation without the additional particles from the smoke?
STEM Education Guide Tip: We tried with hot water first, but the steam from it made the cloud to hard to see. Use cold water or water just straight from the tap. No hot water is needed!
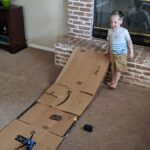
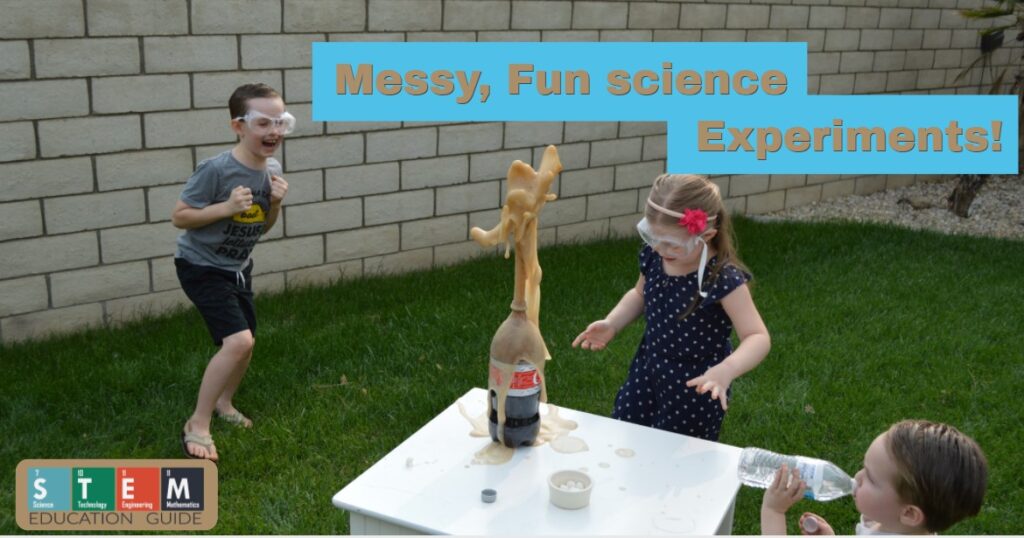
If you’re looking for more STEM experiments to do with your kids, please check out our article, Messy STEM Science Experiments. My kids had a blast with these STEM activities, but you’ll need to make sure you’re in an area you don’t mind getting a little messy!
Process Two
This is a bit over the top, but I thought I’d include it anyways.
Another way to create your cloud in a bottle is with a bottle, rubbing alcohol, metal inflation tube, punp, and stopper.
1. Start by swirling the rubbing alcohol around in your empty bottle. The alcohol needs to coat the entire bottom and sides of your bottle
2. Next, insert the metal inflation tube directly into your stopper. You will need to drill a hole in the center of the stopper for your kids, so the tube can easily slide through but still have a good enough seal to keep the air contained in the bottle
3. Once you and your child have inserted the rubber stopper into the bottle with the tube attached, you will then have your child pump it up to ten times.
When pumping, the stopper will look like it wants to jump out, but as long as you keep a strong grip and keep the stopper in the opening of the bottle, there won’t be any problems. It might best for you to keep the stopper tightly in place while your child pumps the air into the bottle.
4. Once your child has pumped air into the bottle at least 10 times, quickly remove the rubber stopper and watch as the cloud forms inside of the bottle. If it is faint and hard to see and you want a bigger cloud, add more pressure before you pop the stopper out.
Explanation
The experiment creates a model of a cloud in a bottle. How and when they form often depends on pressure, water vapor, dust, and temperature. Water vapor, water in its gaseous state, exists in the atmosphere as individual water molecules bounce around like other gases.
The concentration or amount of the water varies. When it is humid outside, there is more water vapor in the air. During the winter, there is lesser water vapor, and the air feels drier.
The amount of water vapor that the air can hold often depends on the temperature. In the cloud in a bottle experiment, your child learns how to manipulate the temperature inside the bottle with pressure.
When the bottle is squeezed, the pressure inside the bottle also raises the temperature. When you let go of the bottle, the pressure, and the temperature drop. When there is a lower pressure and a lower temperature, water vapor comes together in tiny droplets, and clouds form.
Why Do We Add Smoke?
The cloud system effect is a bit dramatic when there are tiny particles in the air like dust or smoke. The particles give the water molecules someplace to clump together as they form. Therefore, adding smoke particles to the bottle makes it easier for a cloud to form and easier for your child to see.
Clouds in the sky naturally form with dust and all other particles in the atmosphere. Invisible particles in the form of dust, smoke, and even particles of dirt become nuclei on which water molecules attach themselves and go from invisible to visible as clouds.
Cloud in a Bottle Without Matches
If you don’t want to use matches around the kids for this experiment, you can still create a cloud in a bottle without matches. For this experiment, follow these steps:
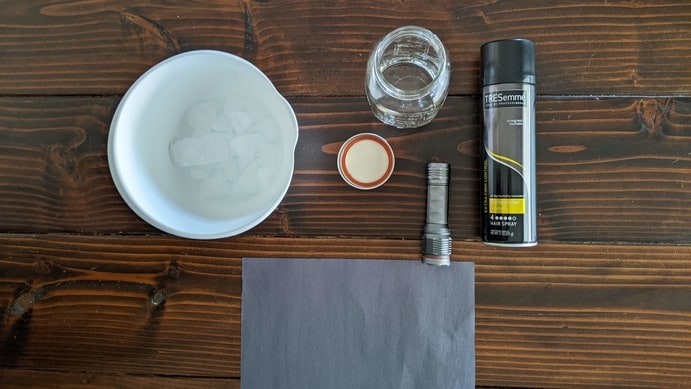
- Assemble your supplies. You should have one glass jar with a lid, aerosol, flashlight, water, and dark-colored paper.
- Pour hot water into the glass jar; the water should cover the bottom of the jar completely. Swirl the water around in the jar so that the hot water heats the glass jar. Doing so is also a good way to prevent any condensation from forming.
- Next, place some ice cubes in the jar lid, lay them on top of the jar. You should see some condensation in the jar.
- Spray aerosol into the jar. Lift the iced lid up and quickly spray some amount into the jar, then replace the lid to trap the aerosol inside the jar.
- Place the dark-colored paper behind the jar to create contrast. This way, you can see the cloud that formed in the jar.
- Open the lid, and you will see the cloud float out.
- Understand how the experiment works. You created moist, hot air inside the jar when you poured some hot water. The ice on the jar lid cools the air as it rises. The water vapor turns into a liquid when it cools. When you spray the aerosol inside the jar, you give water vapor a surface to condense on. The molecules stick to the aerosol and condense into cloud droplets.
In Summary
Cloud in a bottle is undoubtedly the most entertaining way for kids to learn how clouds form. If you’d like to look at all the different cloud forms, I found this helpful site (What’s This Cloud) about clouds.
Follow the guide as mentioned above, and you’ll enjoy experimenting. If you have different ways of making clouds at home or in the classroom, I love to hear about them. Please leave a comment down below.
KiwiCo has some of the best STEM activities available for kids. Please check out our full hands-on review and guide of KiwiCo here.