If you want to get your kids interested in science, soda and Pop Rocks make for a surprisingly good starting point.
Kids love Pop Rocks experiments because—let’s face it—kids love Pop Rocks. The second they know rock candy is involved, you will be able to pull their attention away from screens and get them engaged and excited about a STEM project.
Best of all, once you purchase the Pop Rocks you will more than likely have the rest of the materials you need on hand at home. Pop Rocks science experiments are an easy and inexpensive way to get kids interested in science while also having fun.
Table of Contents
What Are Pop Rocks Anyway?
On the face of it, Pop Rocks are a relatively simple kind of candy, made of sugar, lactose, and artificial flavoring. What makes rock candy stand out among hard candies is the fact that pressurized carbon dioxide gas bubbles are present in the pieces and then create a popping sensation in your mouth as they are eaten.
Kids today know Pop Rocks as a fun and harmless treat; however, the kids who first enjoyed Pop Rocks in the 1970s and 1980s also had a healthy fear of the candy thanks to widespread rumors that Pop Rocks could be fatal when consumed with carbonated beverages.
Back then, manufacturer General Foods had to create a PR campaign for parents to convince them the candy was safe.
Because rumors were swirling around Pop Rocks and carbonated beverages, we ended up with a sort of sugary science experiment that has been a favorite of students for decades.
We will walk you through several ways to turn your home into a mini science lab using candy experiments, and we will help you with a quick lesson on viscosity first.
What is Viscosity?
When walking your kids through STEM projects it’s a good idea to brush up on the big words first. Naturally, you will impress them, but we also recognize that not every adult can rattle off a viscosity definition on command.
Viscosity relates to liquid and how it flows. When you think of something thick, that pours slowly (like honey), you would describe it as having a high viscosity. Water, on the other hand, has a low viscosity.
If you really want to drive the point home for your kids, put three liquids out and have them rank the viscosity, and then pour them into cups to see if they are right. (You could try cooking oil, syrup, and laundry detergent, for example).
Once your kids have a good grasp on viscosity, the next question is ready to be answered.
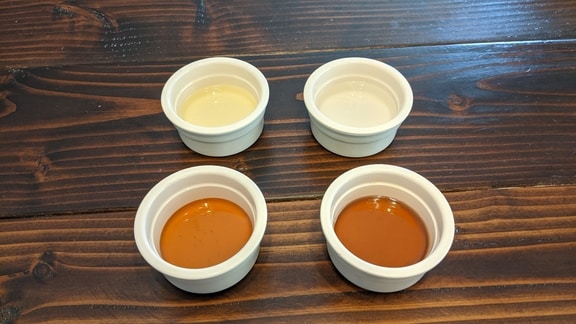
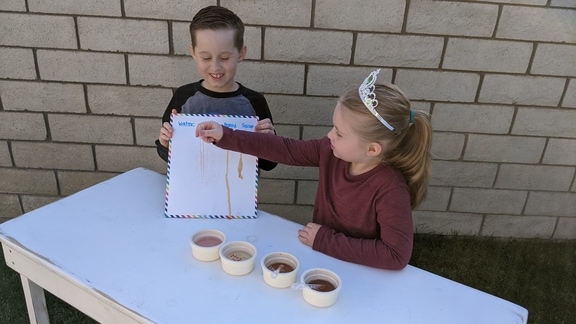
The picture above is vinegar, water, honey, and maple syrup that we’re using in our experiments.
How Does Viscosity Affect Pop Rocks?
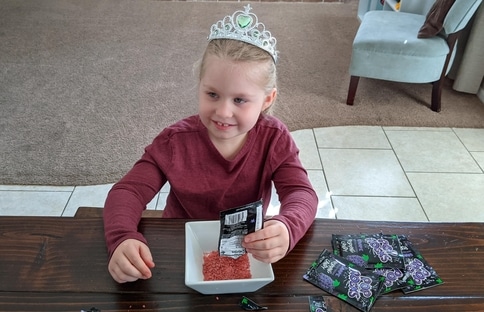
This takes us right into our first fun experiment. Ask your kids whether they think the Pop Rocks will be affected by the viscosity of the liquid they are placed in and document your hypotheses and results.
Materials:
- Pop Rocks
- A variety of liquids (try water, honey, juice, and syrup, or whatever you have on hand)
- Plastic cups
- Baking soda
- Vinegar
- Slime (optional)
Liquid Testing
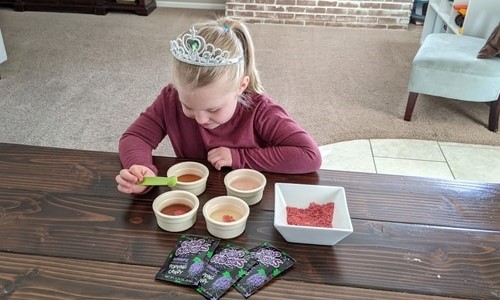
First, you can test out the kids’ theories on viscosity with these steps:
- Fill each cup with one of your liquids and place them on the table.
- Add Pop Rocks to the cups, one at a time.
- Listen to see which cup pops and crackles the loudest.
Questions to ask your kids about the Pop Rocks in liquid:
- Which cup has the highest viscosity?
- Which cup has the lowest viscosity?
- What liquid makes the most noise when Pop Rocks are inserted?
- Based on that answer, are Pop Rocks more reactive to high or low viscosity liquids?
Viscosity Race
While you have three of four different liquids to test how viscosity affects pop rocks, it’s a great time for a race!
You only need a few things for this experiment along with the liquids.
- White board
- Pipettes (to get the same amount everytime)
- Pin or dry erase marker
- Timer
You’ll also want to hold the board at the same slope (gradient) to keep it fair. When starting the race use pipettes so that the same volume of liquid is used every time.
My son might have been a little too old for this but he still had fun. He knew right away which liquid was going to fall the fastest. My daughter wasn’t too sure if the maple syrup or honey would get to the bottom of the whiteboard first.
Questions to ask your kids about before the viscosity race:
- Which liquid will be the fastest?
- Which liquid will be the slowest and why?
- What will happen if we warm up the liquids first?
Play around with a few different things like ketchup or mustard.
If these pop-rock experiments get your kids interested in chemistry, then check out our article, Best Chemistry Set for Kids.
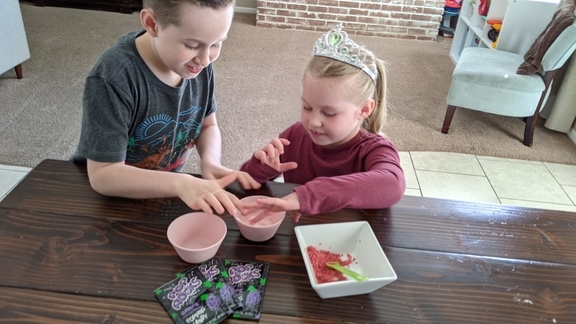
Dough Testing
Now we get to the messy part of the Pop Rocks experiments (assuming you made it through the last part without any little hands knocking over the cups).
Add a small amount of water to baking soda and mix with your hands until it becomes doughy. You can add more water if needed but start with only a small amount—this will not work if it is too wet.
Drop some Pop Rocks in and then add vinegar…and watch what happens!
If you have slime on hand (as most parents do these days), you can try this out with slime too, and compare the reactions.
Are you looking for my STEM activities to do with your kids? Then take a look at your article, Microscope Activities for Kids – Fun Experiments Kids Will Love.
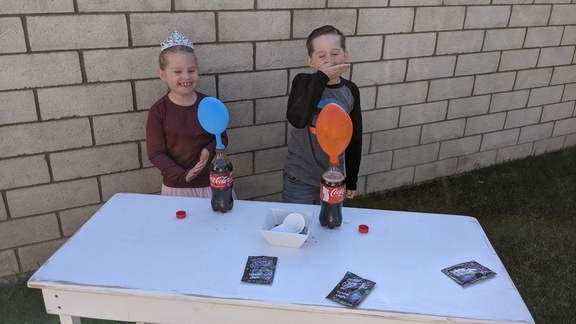
Make it Pop with Soda Pop
Kids will be thrilled to pair their Pop Rocks with a soda science experiment. Keep in mind if you are going to allow “taste testing” during this experiment, so you may want to pick up a caffeine-free soda if you’re doing this science project with young ones.
Materials:
- Three bags of Pop Rocks
- Three bottles of soda (choose different flavors and colors)
- Bag of balloons
- A plastic funnel
Once you have gathered your materials, follow these steps for some fizzy science fun.
- Take a balloon from the bag and give it a good stretch, as you would when prepping to blow it up—but stop after the stretch. You do not need to inflate the balloon.
- Insert your funnel into the mouth of the balloon.
- Pour one of your Pop Rocks packets into the balloon, tapping and twisting it as needed to ensure all the pieces go down into the balloon. (Use a pencil to gently push the pieces in if needed.)
- Remove the funnel and place the mouth of the balloon over an open soda bottle.
- Tip the balloon up so the candy falls into the soda.
- Watch as the snapping, popping, crackling, and inflating of the balloon begins!
With each Pop Rocks science experiment you try, encourage your kids to document their findings. Even while having fun, they can begin to build skills they will use throughout their STEM education.
If you’re looking for a bigger reaction with the balloons, check out our article Fun & Easy Baking Soda and Vinegar Experiments for Kids. Most of these experiments are quick and easy, and not too messy.