
Looking for some fun and educational activities for kids using common household items?
Children love to experiment. Whether it’s blowing bubbles in colored water or stacking blocks into a complex tower, they are always up to something. Their curiosity level increases as they grow older and start learning more things. They quickly become little researchers.
So, instead of preventing these small minds from experimenting, it’s best to encourage them so that those activities turn out to be constructive, educational, and fun at the same time.
One such type of activity that can help your kids grow academically while having fun is science experiments. Science is awesome, and you can experience its awesomeness even without leaving your house. Isn’t that amazing?
Yes, we’ve found some fun sci tricks that can be carried out with the stuff you already have. So, without any further delay, let the learning and fun begin as we bring you 5 fun-filled science experiments for your kids (of any age).
If you’re still looking for more science experiments after this article check out our, 9 Classic Science Experiments to Do with Your Kids.
Table of Contents
Interesting Science Experiments for Kids to Try at Home
1. Create Eggshell Chalk
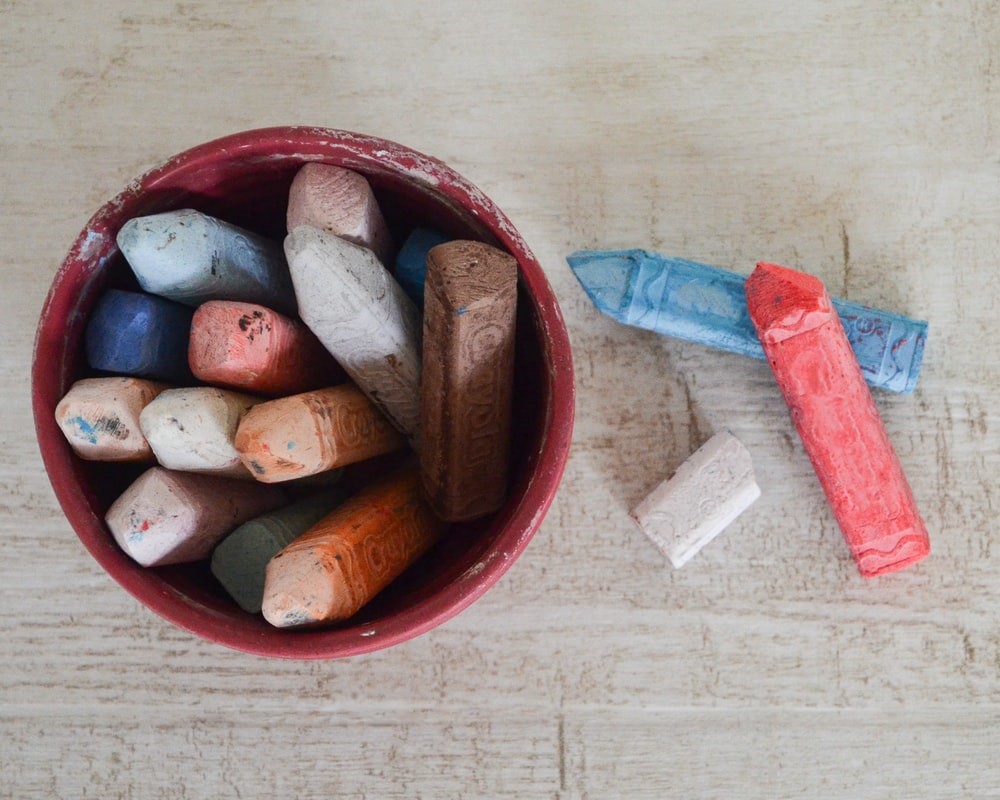
This is one interesting sci trick that can be tried using simple household ingredients. So, are you ready to create eggshell chalk? Let’s get started.
What Will You Need?
- 10 eggshells
- 4 tbsp hot water
- 2 tbsp plain flour
- Food dye
- Paper towel
The Process:
Step 1:
The first step involves cleaning the eggs thoroughly. Make sure that the membrane is removed properly. Once done, leave them to dry.
Step 2:
After the shells have dried completely, place them in a mortar and pestle. Alternatively, you may also consider using a rock on concrete, whatever is feasible for you.
Step 3:
Grind the eggshells until they turn into a fine powder. This may take a while. But make sure to get a consistently fine powder in the end.
Step 4:
Transfer the eggshell powder into a bowl. Now, add 2 tbsp of flour and 4 tbsp of hot water (or, as required) to make a stiff paste.
Step 5:
Next, add food dye to your paste. You can use any color of your choice. Mix the paste properly so that the color gets evenly distributed.
Step 6:
Take a thick paper towel and place your eggshell paste over it.
Step 7:
Now, you want the paste to have a chalk-like shape. For this, roll the paper towel into a tube. Alternatively, if you’re in for some fun shape chalks, consider using silicone ice cube tray molds.
Step 8:
Leave the chalk to dry for a few days once you get the desired chalk shape.
Step 9:
After a few days, once your chalk stick has completely dried, it’s ready to be used. However, this eggshell chalk won’t work on regular blackboards, but at the same time, you can create a masterpiece by having lots of fun outdoors, either on driveways or footpaths.
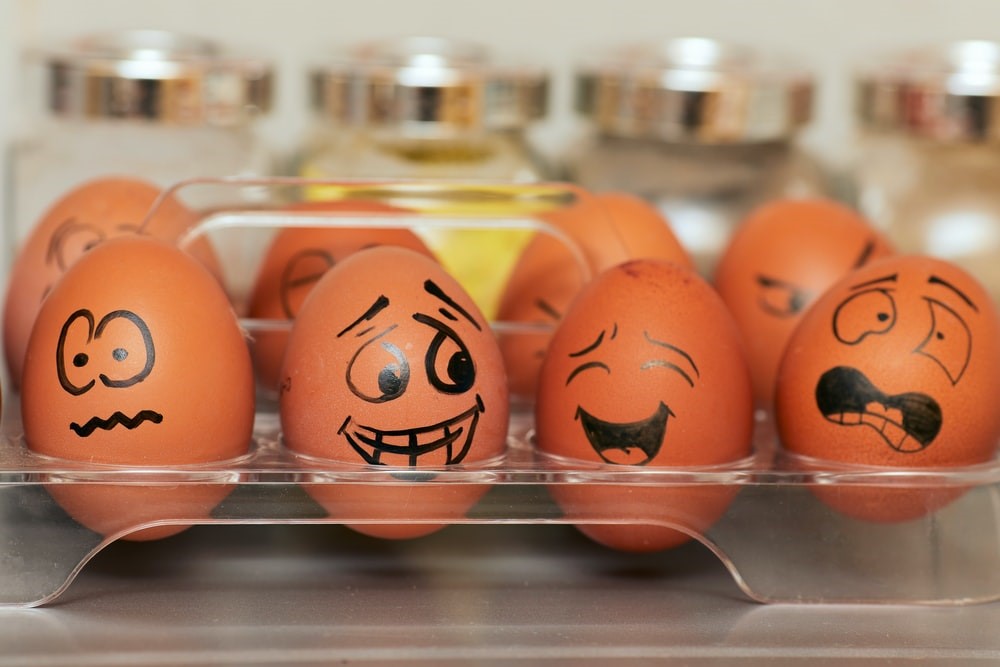
Interested in trying other egg-related experiments? You might want to check this out from KiwiCo: Eggsperiments.
2. Make A Lava Lamp
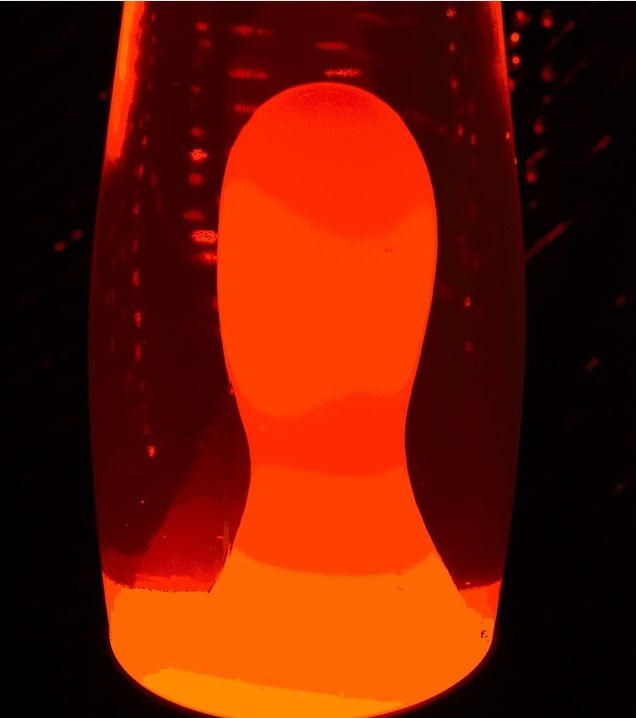
This experiment teaches about liquid density. It’s fun for all ages and is easy to carry out with the stuff you probably will have in the house.
What Will You Need?
- A wide bottle (you may also consider a fancy drinking glass or wide glass vase, whatever is available)
- Vegetable oil
- Water
- Food coloring
- Alka-Seltzer tablet
The Process:
Step 1:
You may choose your bottle/vase/glass size depending on how much vegetable oil you wish to use. Once chosen, fill your container about 3/4th with the vegetable oil.
Step 2:
Next, fill the remaining container with water. Don’t fill up to the brim; leave about 2-3 inches. See how the water passes through the oil while settling at the bottom. Did you know that water is denser than oil?
Step 3:
Now, pick your lava lamp color. The water may take around a minute to settle down. Once it does, add around 10 drops of your preferred food color. Observe how each drop makes its way through the oil while sitting on the top of the water layer. Do not proceed until you see the water droplets pass through the oil-water line while bursting into the water.
Step 4:
Let the fun begin by adding your last ingredient: the Alka-Seltzer tablet. When it mixes with water, the reaction produces carbon dioxide bubbles which will eventually stick to the water droplets. As the water-gas combination is less dense than the vegetable oil, they will begin rising to the top. The gas bubbles will then break by releasing into the air. The water will again go down and settle at the bottom.
Observe the reactions and repeat the process if you’d like to.
Isn’t this a fun activity to keep your kids entertained? We recommend you try this out with them.
Make sure to check out some other fun science experiments you can do at home with your kids in our article, 10 Best Science Kits for Kids (For Every Age!).
3. Make Homemade Slime
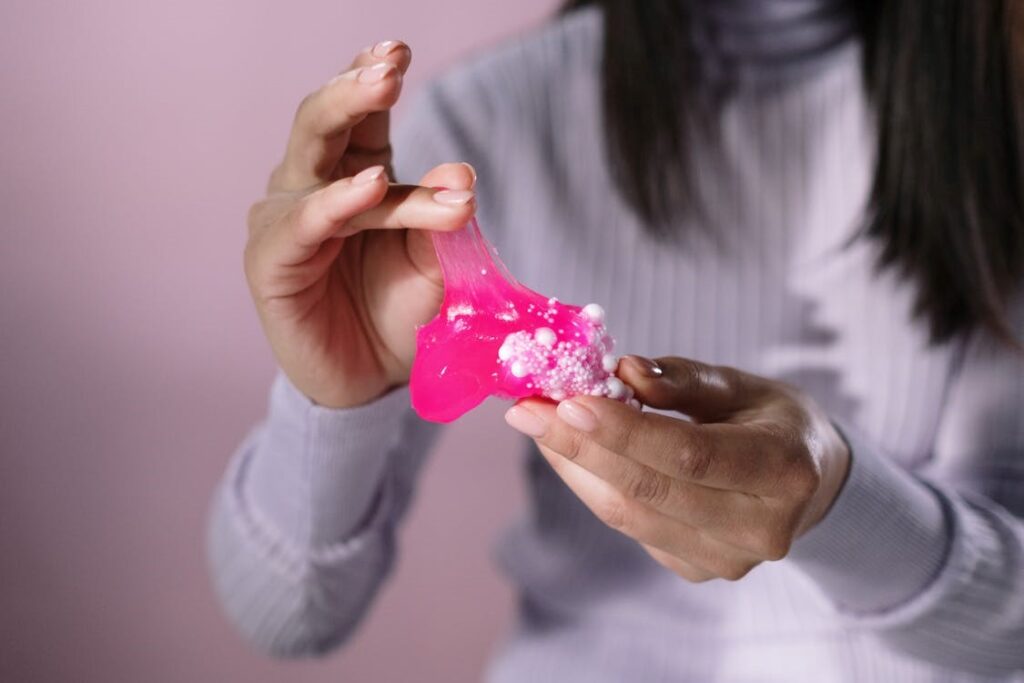
Every kid loves to play with slime, and what if you can make one of your own? Let’s find out how.
What Will You Need:
- White school glue
- Water
- Food color
- Borax
- 2 bowls
The Process:
Step: 1
For a basic slime, take a bowl and mix ¼ cup of white school glue and ¼ cup of water.
Step: 2
If you want your slime to be colorful, add a few drops of your preferred food color to the solution.
Step: 3
Now, take another bowl, and mix ½ tbs borax along with ½ a cup of water. Continue mixing until the borax has dissolved completely.
Step: 4
Next, mix this borax solution with the glue solution that we prepared in step 1. If not in a bowl, you may also consider mixing these solutions into a resealable plastic bag.
Step: 5
Once you mix, you’ll see a slimy texture forming. Continue to stir the mixture and then knead it until you get the desired consistency.
Step: 6
Your homemade slime is ready. Remove it from the bowl and enjoy.
You may get creative and try some advanced slime methods. For instance, to make glow-in-the-dark slime, all you need to do is add glow-in-the-dark paint to the glue solution. For glitter slime, use clear glue gel instead of white glue and then add glitter into it.
Don’t forget to check on this amazing slime kit from Amazon: Play-Doh Slime.
4. Make an Eggshell Disappear
This egg experiment is fun for preschoolers as well as older kids. So, why not give it a try?
What Will You Need:
- A mason jar with lid and ring (preferably 16-ounce)
- Fresh egg
- White vinegar
The Process:
Step 1:
Place the egg gently into the mason jar.
Step 2:
Fill the jar with white vinegar while leaving ½ inch at the top. Don’t fill it to the brim, or the jar might burst from the carbon dioxide gas produced by the reaction.
Step 3:
Now, cover the jar loosely with the lid and ring. Again, be sure it’s not too tight. The gas should be able to escape the jar.
Step 4:
Allow the egg to sit for the next two days. Later, remove it from the jar and wash it off with water. Where did the eggshell go? Fun, right? Enjoy!
5. Make Water Float
Yes, you read it right. There’s no magic behind making the water float. It’s purely a sci trick. Would you like to know? Great! Let’s begin.
What Will You Need?
- A small glass of water
- An index card or construction paper that is large enough to cover the glass opening
- A sink or a bathtub (or anywhere outside) – pick your spot
The Process:
Step 1:
Fill the glass with water (there’s no such measurement here, take as much water as you like).
Step 2:
Turn the glass upside down. See what happens. The water spills out, right?
Step 3:
Again, fill the glass with water. Remember, the more you add, the more will be the difficulty level of this experiment. It’s safe to start by filling up half of your glass with water.
Step 4:
Now, put the index card or construction paper on the top while pressing it down firmly. Meanwhile, rotate the cup till it’s upside down. Next, remove your hand gradually in a way that the paper or card stays in place. What did you see? Did you make the water float without spilling it out? If not, try again with a larger piece of paper and less water. Observe how water stays in place.
Wrapping It Up
Aren’t these sci tricks worth trying? These fun and educational experiments are sure to make your kids’ day fun-filled and interesting. Need more such amazing ideas to keep your kids indulged with?
Check this out from Amazon: A kit of 21 exciting and interesting kid-friendly science experiments.
Which experiment are you going to start with? Have you already tried any of these science magic tricks? How was the experience?
Do you have any other such exciting kid-friendly science experiments using household items? Do share your best science trick with us in the comments.


YouTube channel challenge content!