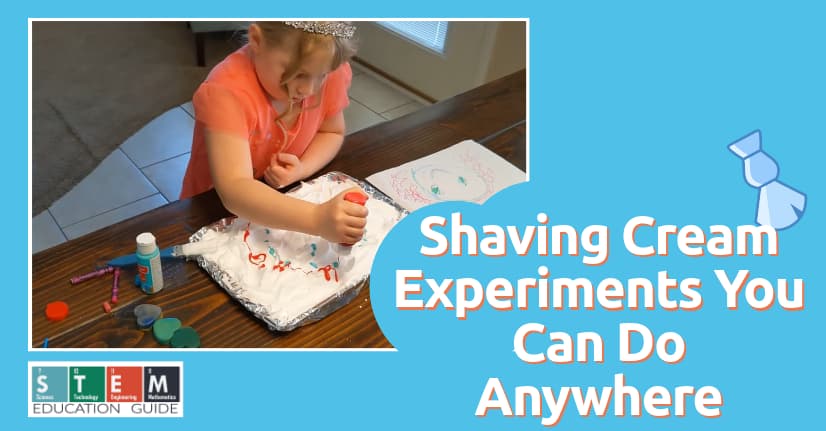
The properties of shaving cream make an excellent base for a myriad of experiments.
Plus, it allows tiny hands to become very messy while learning scientific principles. From foamy explosions to endothermic reactions (safe, of course!), we show the most creative experiment with shaving cream that will keep young children amazed!
Before we get into cloud experiments, grab my free eBook with over 25 STEM experiments for kids. For all my free downloads, check out this page.
Table of Contents
Shaving Cream Experiments

Most of these experiments are very easy to use but are extremely messy. Be sure that clothes are protected, and tables are covered while making some of them. Then, be prepared for some messy fun!
Shaving Cream Alternative
Due to age, many people may not want to have young children playing with shaving cream because they could ingest it. To avoid this, you can make your own aquafaba. Aquafaba is a vegan alternative to using egg whites. It creates a foam that is like shaving cream inconsistency by using a can of chickpeas.
To make it, strain the liquid from the chickpeas and spend a few minutes beating them with a mixer. The liquid should quickly transform into a stiff foam. You can add a tiny bit of cream of tartar to the mixture to increase the stiffness.
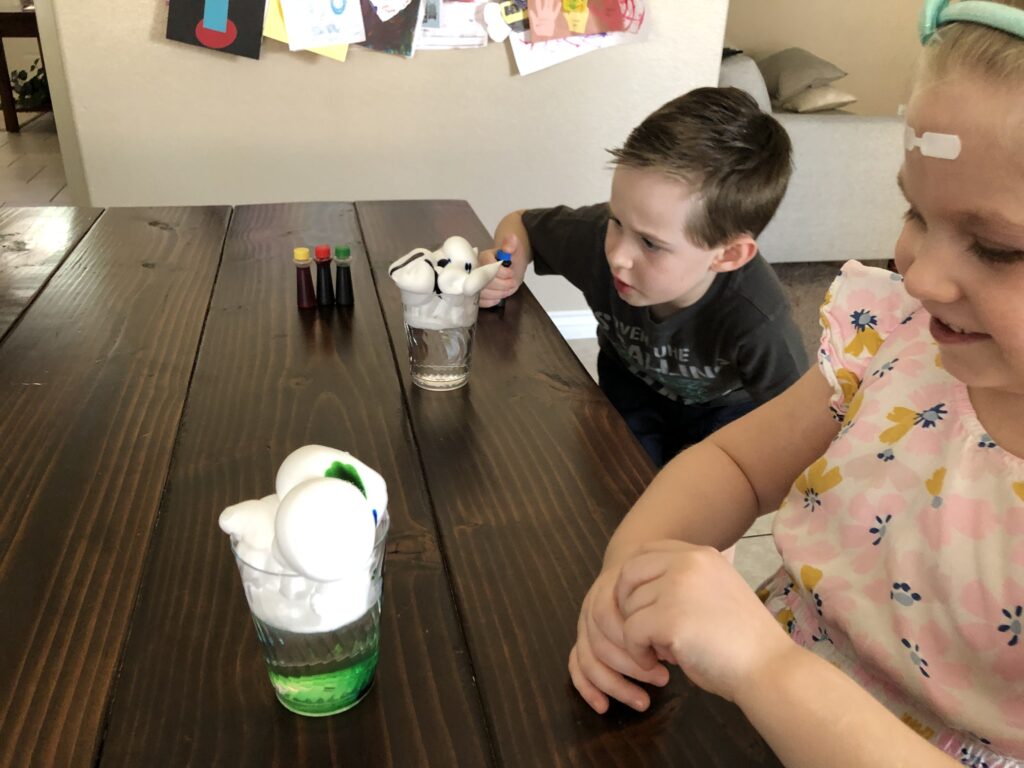
1. Shaving Cream Rain Clouds
- Age Range: Toddler to elementary school
- Total Time: 5 minutes
- Difficulty Level: Easy
This experiment is quick and easy. Parents can use it to demonstrate how weather works by using this simple methodology.
The shaving cream is representative of a cloud, while water is the atmosphere. When food coloring is added to the shaving cream, the weight will push through the shaving cream as rain bursts through clouds and reaches the earth.
Have fun with it and let them try different colors!
It’s probably better to do this STEM activity outside if the weather is nice. As your kids are filling up their cups with shaving cream, the cup can easily knock over.
Materials:
- Food coloring (with Vibrant colors)
- Clear Jar/Container
- Water
- Shaving Cream
Instructions:
- Fill a clear container ¾ full of water.
- Shake the shaving cream to get foam.
- Place a layer of shaving cream on the top of the water to represent clouds. Ensure that you cover the surface of the water completely with shaving cream.
- Add lots of food coloring over top of the shaving cream. This will be the rain.
- Watch as the food coloring filters through the “clouds” and into the water as rain.
The Science Behind the Experiment
Clouds are formed when water vapor rises back into the air. Condensation builds in the clouds as a result of the dampness in the atmosphere. As the vapor becomes heavier, gravity eventually pulls water down from the clouds and falls from the sky. This is the rain we see on earth.
We love STEM activities at our house and finding new and interesting ways of exploring. A great way of finding something new is not to look further, but to look closer. Please join us in our Microscope Activities Guide; we explore by seeing what we can’t see.
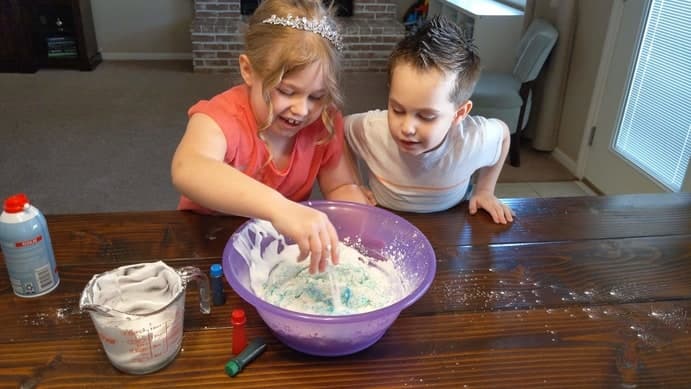
2. Snow Fluff
- Age Range: Toddler to Pre-K
- Total Time: 10 minutes
- Difficulty Level: Easy (for parents)
This science experiment is simple, and children will love getting their hands dirty making this snow fluff. It will provide hours of entertainment for them as well.
Materials:
- Food coloring
- 1 cup shaving cream
- 1 cup corn starch
Instructions:
- Pour the cornstarch into a big bowl. Using a spoon, scoop shaving cream on top of the corn starch. Place 5-10 drops of food coloring on top of the mixture. Stir the mixture until everything is perfectly blended.
- When the mix has a grated cheese appearance, squish the mix with your hands even more.
- After a while, it will form a ball that will have a dough-like texture.
- If the mix is very wet and sticky, it may require additional corn starch. If it’s crumbly, add more shaving cream.
- Now, the mixture is ready. It can now be sculpted into snow creatures.
The Science Behind the Experiment
Small bits of corn starch become mixed with the shaving cream. They suspend in the mixture to create color. The shaving cream has many minuscule bubbles. The surface tension on the top of those bubbles helps the corn starch “float” the particles when the two are combined.
3. It’s Snowing!
- Age Range: Pre-K to elementary school
- Total Time: 5 minutes
- Difficulty Level: Easy
This is a great fake snow experiment that is fun to do indoors during warm weather.
The best part is that it’s not as cold, and you don’t have to bundle the kids up to go outside! It illustrates an endothermic reaction.
It looks a lot like the Snow Fluff experiment that my kids did above, but the texture is different. It feels kind of dry and not slimy like the Snow Fluff.
Materials:
- Foaming shaving cream
- 1 lb baking soda
- Spatula
- Large bowl
Instructions:
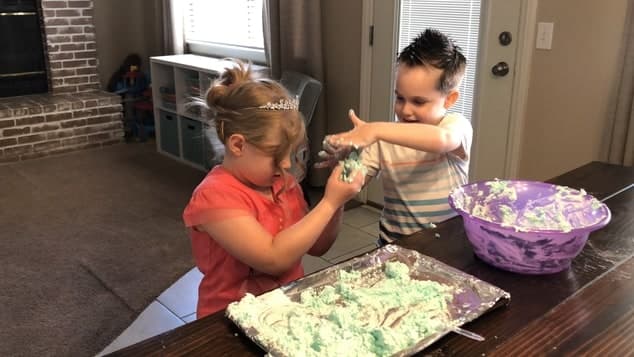
This experiment makes enough fake snow for two children to use. The recipe’s proportions will have to be changed for additional kids. While the chemical reaction is on the cold side, the foam shaving cream can be placed in the refrigerator a few hours before the experiment to make it colder.
If you’d like, cover your table during the experiment. None of the ingredients are toxic or harmful. However, the powdery consistency of the baking soda can be very messy.
- Pour all the baking soda into a big bowl.
- Place half a can of shaving cream into the mixture. It should have enough shaving cream to coat the top of the baking soda three to four inches in depth.
- Stir the mixture slowly while scraping the bottom of the bowl to combine the entire box of baking soda. As they mix, powdery snow-like flakes will begin to appear. Furthermore, it is a bit cold like snow. If the shaving cream is too much for the baking soda to cling to then sprinkle more baking soda.
- Spill it out onto a table and enjoy creating things with snow.
STEM Education Guide Tip: Put your shaving cream in the refrigerator and the freezer for a little bit before starting this science experiment. That way it will feel more like snow!
To Further Enhance the Fun…
What kid doesn’t like to see an explosion? Curious children asked whether vinegar added to the mixture would cause it to explode. To do this, add white vinegar to a bowl and place the “snow” in it. This will turn the snow into a fizzy, volcanic explosion.
For more easy experiments that will fizzle and pop, please take a look at our article, Fun & Easy Baking Soda and Vinegar Experiments for Kids.
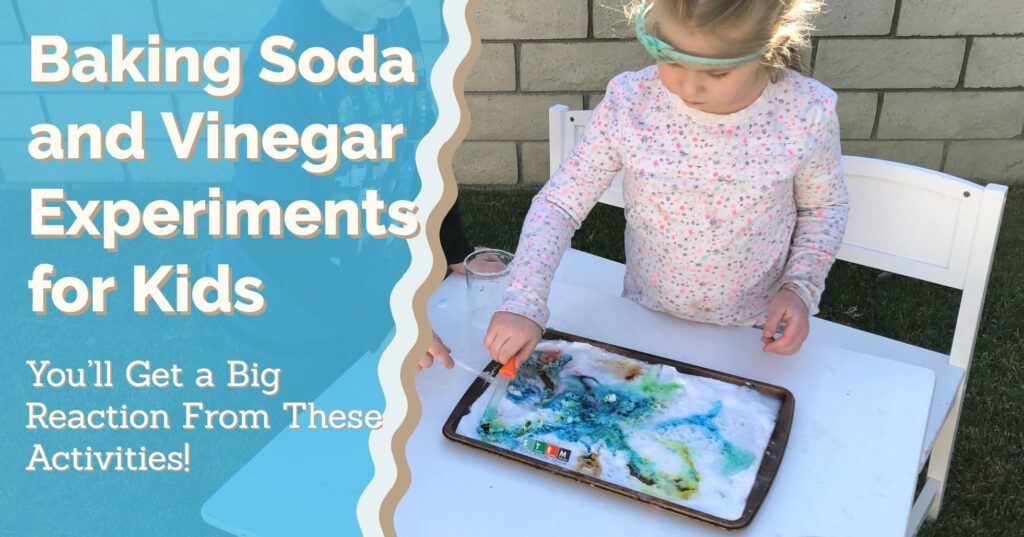
The Science Behind the Experiment
Baking soda (sodium bicarbonate) when mixed with sorbitol/lanolin/acid compound of the shaving cream generates a cool mixture. This is called an endothermic reaction. This is a great experiment because this is a difficult experiment to demonstrate endothermic reactions without using chemicals.
These are just a few experiments that you can conduct with shaving cream. Shaving cream provides a foamy backdrop for hours of fun teaching scientific principles to young children. In addition to the children learning, they can spend hours engaging in tactile fun.
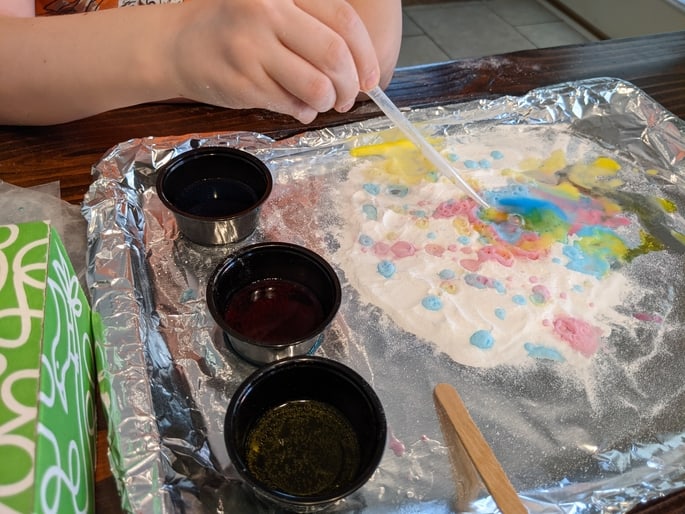
4. Shaving Cream Color Lines
Materials:
- Foaming shaving cream
- Baking sheet
- Small painting brush
- Food coloring or paints
In this shaving cream experiment, I wanted my daughter to think of new colors when base colors are mixed. She knows a few of them like blue and red make purple, but she had to guest on other ones.
That’s why this activity is great! It will be easier for her to remember how base colors mix because she had fun learning how.
How to set Shaving Cream Color Lines Up:
On a piece of paper have your kids write out the base colors. Red plus blue equals, Yellow plus red equals, etc.
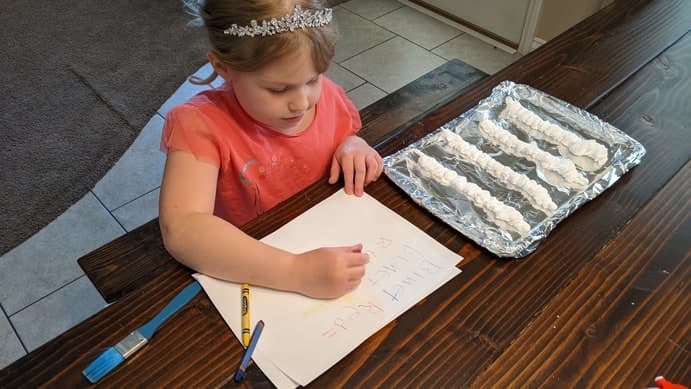
Make a few lines of shaving cream on the baking sheet with the shaving cream
Add the base paints or food coloring drops to the lines.
With a paintbrush, your kids will mix the base colors together to find out what new colors are made. On the piece of paper, they can record their findings.
The Science Behind the Experiment
Color mixing is essentially a process where a secondary color is generated by mixing the appropriate proportion of base primary colors. Mixing paints or colors together is a great opportunity for your kids’ to observe changes around them.
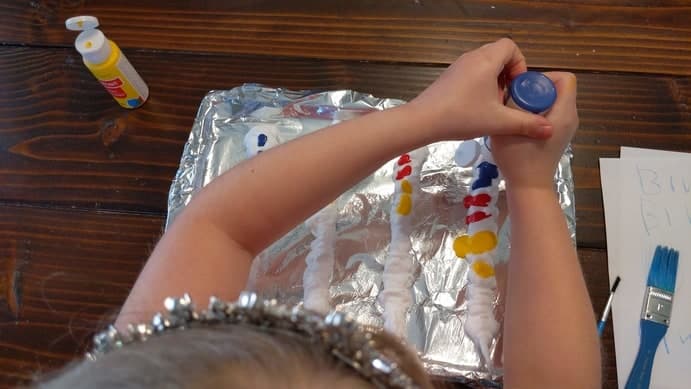
5. Shaving Cream Art

Materials:
- Foaming shaving cream
- Baking sheet
- Paintbrush
- Food coloring or paints
This shaving cream art activity goes along with the shaving cream color lines above, because you’ll already have all the material out on the table.
Since this activity is more STEAM (art) than STEM, I asked her what she wanted to draw. My daughter wanted to draw the face in the shaving cream. She started by drawing the face on a piece of paper, then adding drops of color in areas where it would need to go.
The next step was fun; she pushed and pulled the drops of color in the shaving cream with the paint brushing, making a face on the shaving cream canvas.
Wrapping Up
I like STEM experiments with shaving cream because most of them don’t need special materials. In fact, I already had everything at home that I needed.
They can be done inside or out. I didn’t find these experiments that messy so I didn’t mind doing them inside, but it’s up to you.
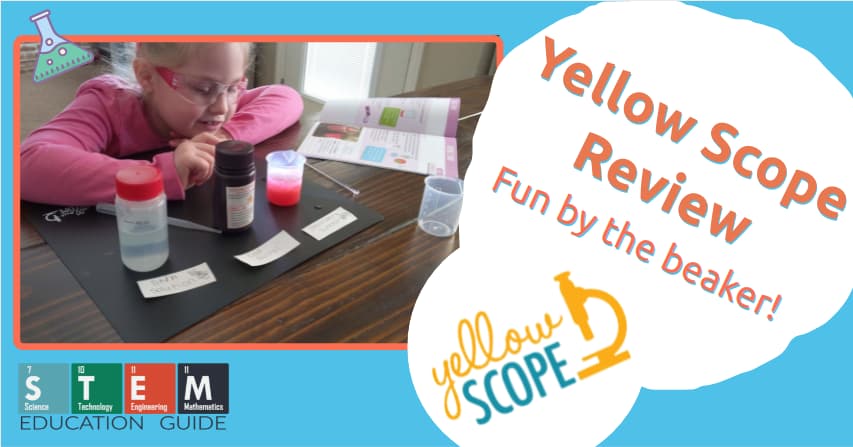
If you’d like some structured experiments that are easy to set up, please take a look at our Yellow Scope Chemistry review that I did with my daughter.