These adorable mini terrarium necklaces are so easy to make. Best of all – the supplies are cheap.
This craft puts both “Science” and “Art” in STEAM.
Incorporate this art project in a lesson about water cycles. Terrariums are the perfect example and opportunity to see evaporation at work. (We’ll dive into the science behind terrariums more at the end of this article too!)
But first, let’s get started on how to make these DIY terrarium necklaces.
——You can download our FREE ebook with 25 STEM Activities here——
Supplies
- Mini Glass Bottle Jars
- Dirt
- Chia seeds (you can test other seeds too!)
- Small eye dropper
- Cotton swab
- Small funnel (or scrap paper)
- Eye pin hooks
I recommend this set on Amazon. It includes a mini-funnel, which isn’t so easy to find!
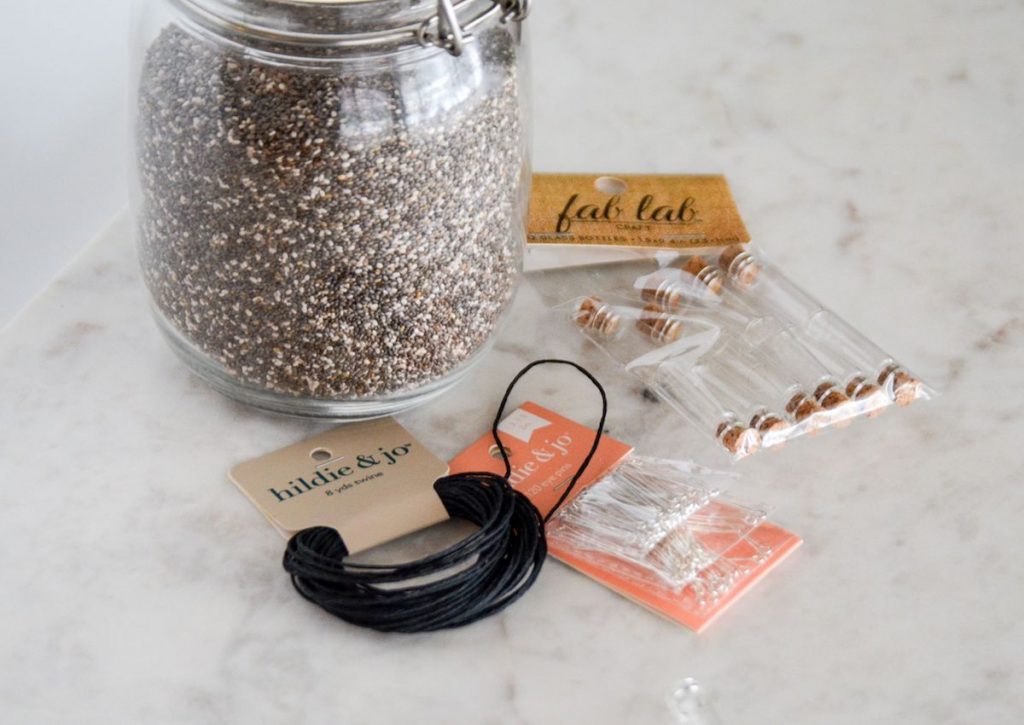
How to make DIY terrarium jewelry
Step 1: Use a piece of scrap paper to make a small funnel (or use a small funnel) to put about 1cm deep of dirt at the bottom of the jar.
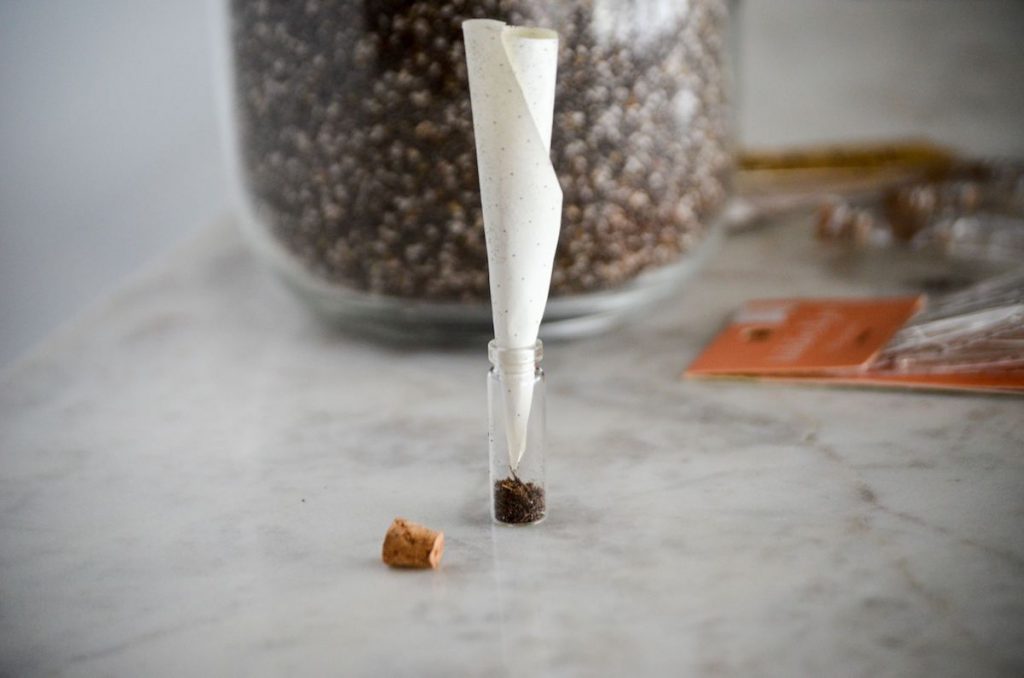
Step 2: Sprinkle in chia seeds. We used chia seeds because I know they sprout quickly – you’ll begin to see roots and sprouts in just 3 days.
The kids could observe the roots poking into the glass before the seeds sprouted. You can test with other seeds. I think moss would make a beautiful terrarium too!
If some dirt gets stuck on the sides of the glass, use the cotton swab to clean it up.
Step 3: Observe the terrarium! Ask questions about what’s happening to the water. Does the dirt still look wet? Where is there water in the jar? I recommend keeping an illustration journal with this project. Have the kids sketch what it looked like on the first day, 3rd day, and 5th day of the experiment.
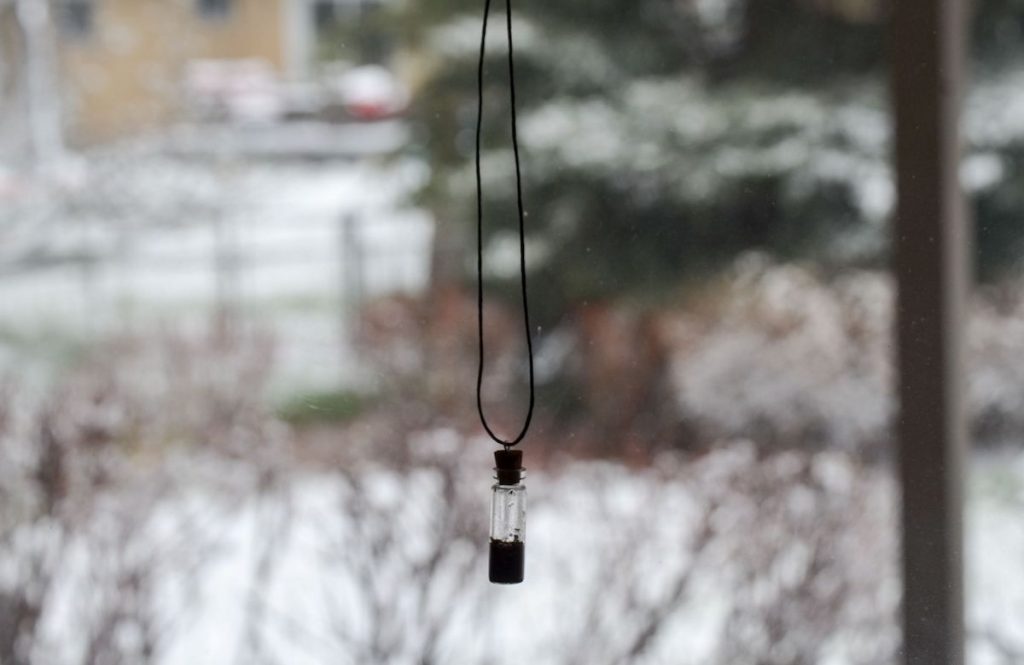
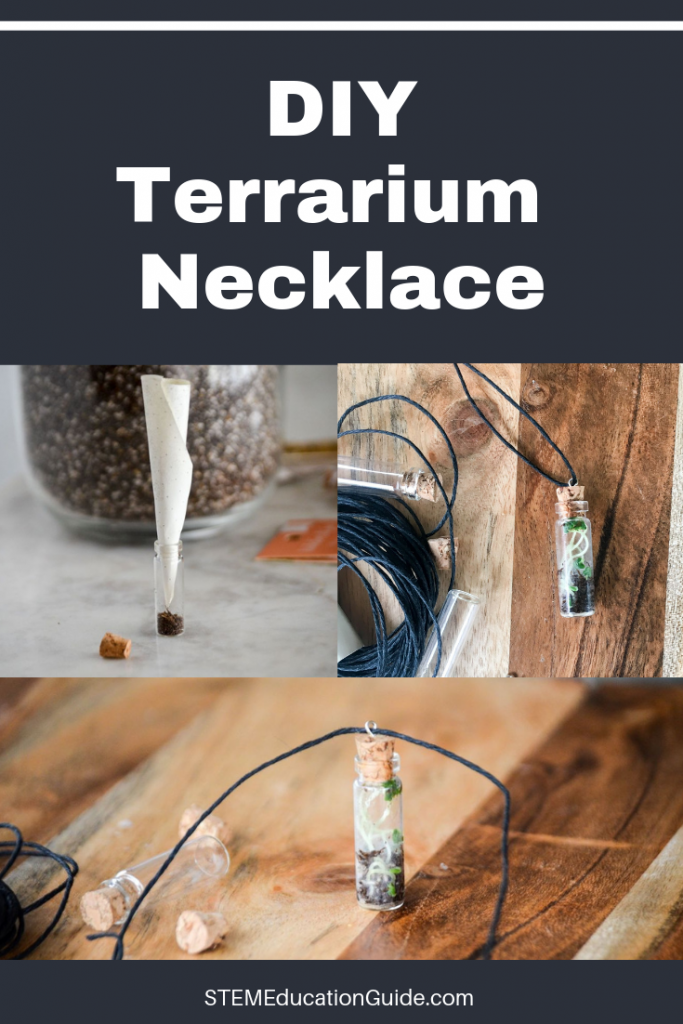
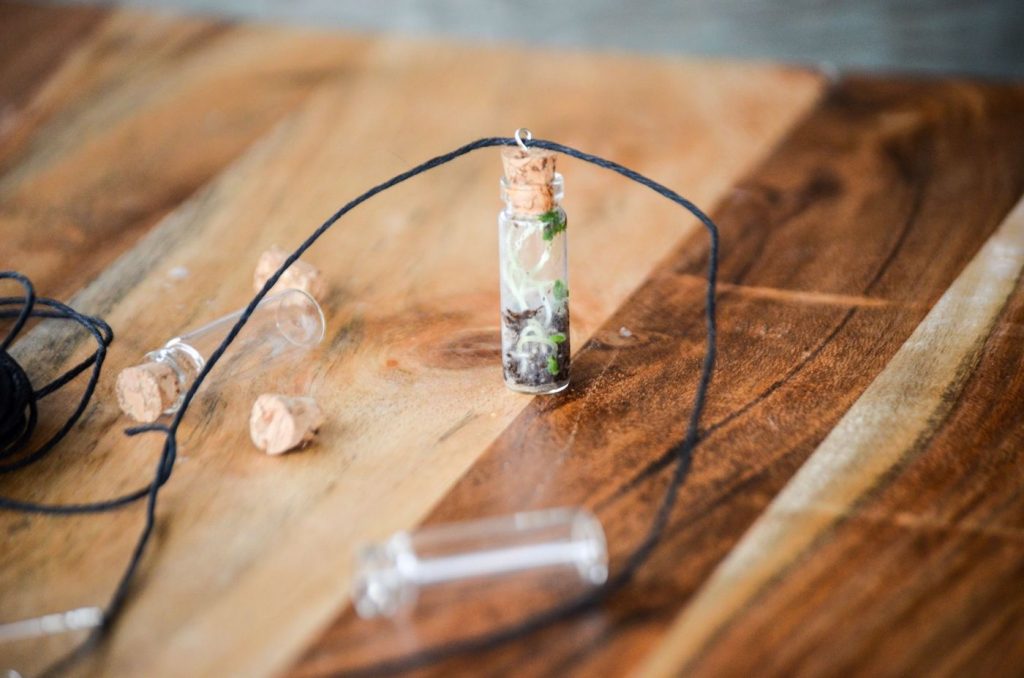
Step 4: Turn your sprouting terrarium into a necklace. Screw the eye pin hook into the cork top. Thread black twine and you’re done!
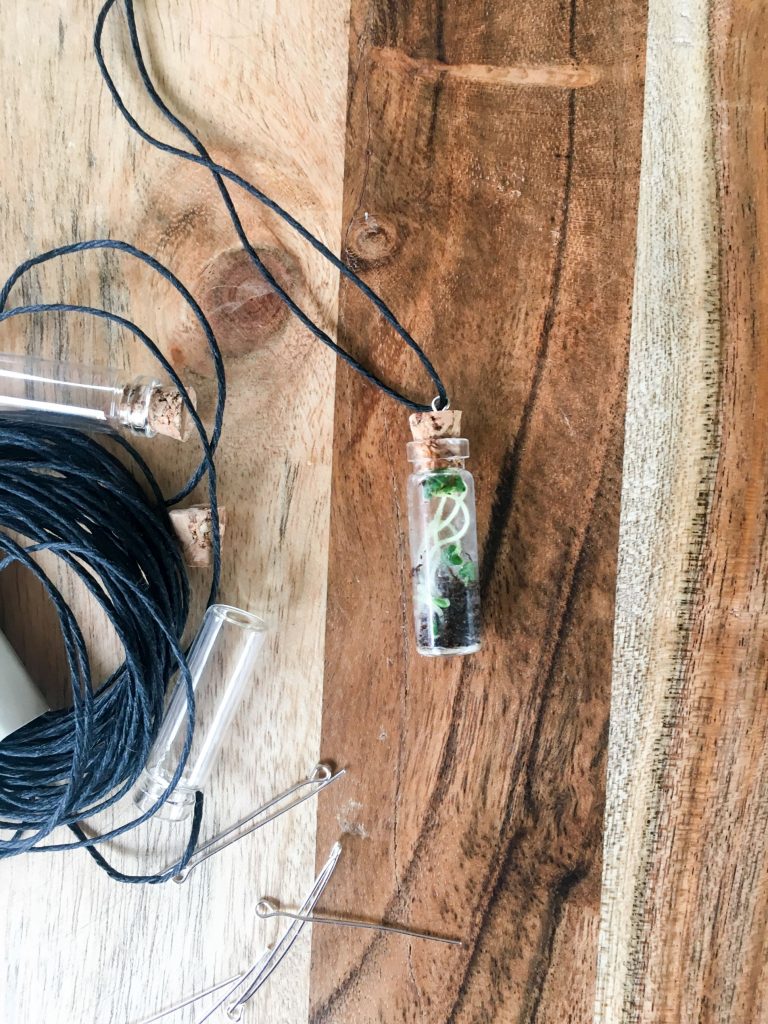
Science Behind Terrariums
Terrariums are a great chance to experience the water cycle!
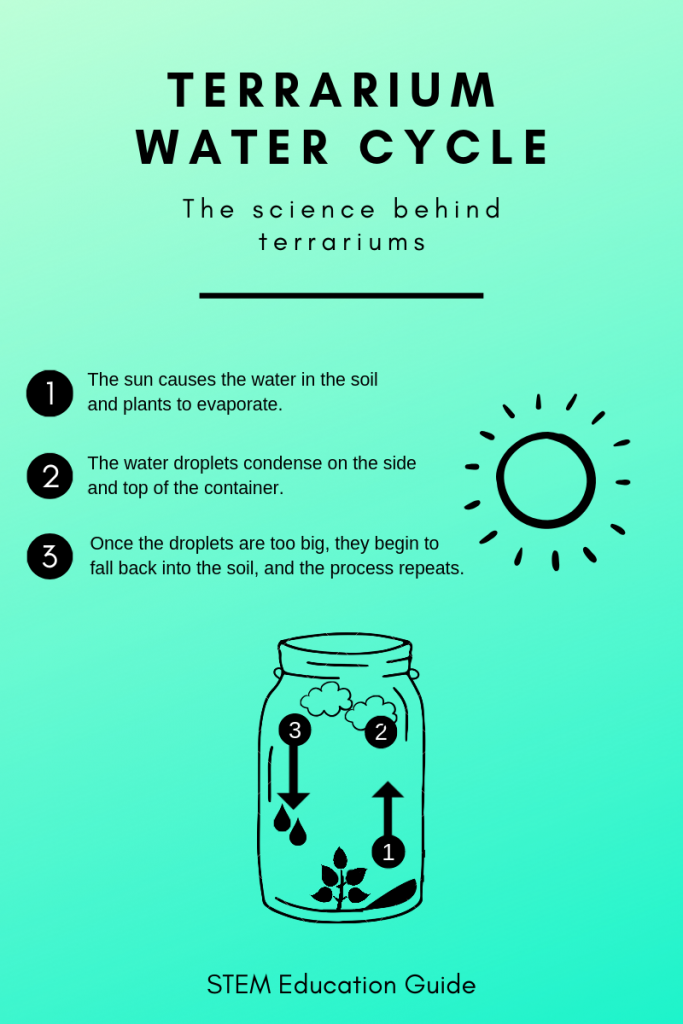
With the terrarium, you won’t have to the water seeds. The plants and the soil release water. It evaporates, but because the container is sealed, the evaporation begins to condense at the top of the jar.
Once the condensation accumulates and the droplets are too big, the water begins to drop back into the soil. The process repeats, and the water continues to recycle in your closed garden.
Let us know what you think in the comments below about your own DIY mini terrarium necklace!



This is so cool! I can’t wait to try this out with my kids. Question, and please forgive my ignorance- should we add water to the dirt before putting in the chia seeds? Thank you!
Hi Bisma. That’s a good question! There’s no need to moisten the dirt beforehand. It would also make the dirt stick to the funnel too, making it hard to get in the little glass bottles.
So excited to try this! Just to clarify, what is the eye dropper used for?
Hey Jensen, the small dropper is used for moistening the dirt when it’s in the small jars. It’s just easier to use the dropper than putting it under the sink.
what is the cotton swap used for or did i miss a step?
Hi Heather, you didn’t miss anything. I never said what the cotton swab was for, but I’ve added it to the article. I just used it to clean the inside of the glass a little. Thank you!
How much water should we add originally? I’m on my second attempt and nothing is happening? 🙁 Thanks in advance.
Hey Kim, just enough water to moisten the dirt really well in the beginning. You don’t want to have water puddling up inside the glass.