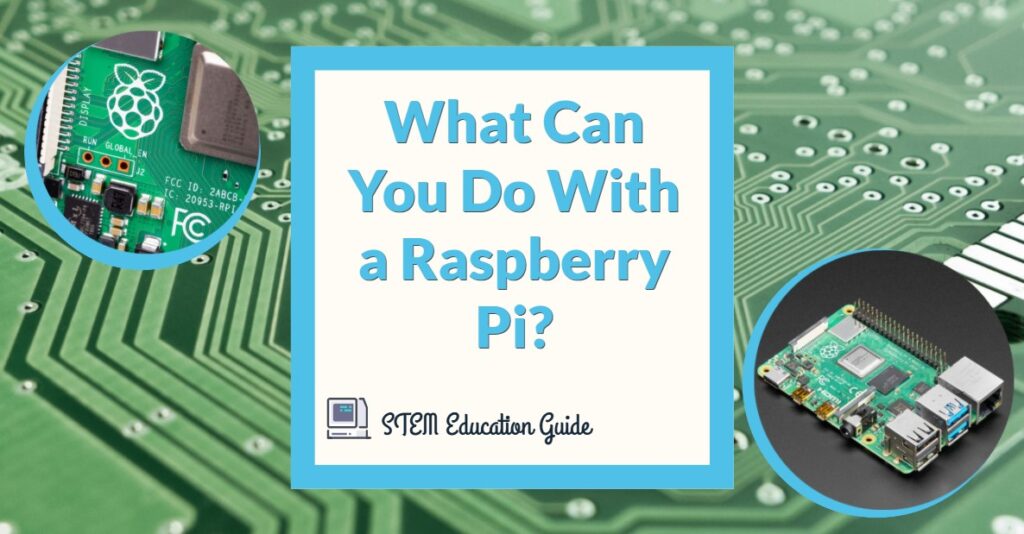
Raspberry Pi Projects – An Introduction to Hardware & Programming for Kids
This is a guide and outline for parents thinking to buy a Raspberry Pi kit, but aren’t sure what kind of projects you can do with it (or even what it is!)
Let’s get started! A Raspberry Pi is an affordable and relatively easy way to get kids and beginners into the world of computer hardware and programming.
They are about the size of a credit card and are incredibly versatile. They can be outfitted with a whole range of add-ons and the options for customization are endless.
Today there are several generations and variations available and countless projects that you can find online to put each one to use.
If you want, you can turn it into a working cell phone, a weather station, a photo booth, program a game or play old ones, create your own personal cloud storage device, create a pirate radio station, and pretty much anything else you can imagine.
One user even modified his microwave to accept voice commands and scan barcodes to look up recommended microwave times online!
When the Raspberry Pi was first introduced it was aimed at teaching basic computer science, including programming and hardware. This means that at its core, the use of the mini-computer is simple.
What’s more, is that you can find details online from people who have already successfully completed the project.
This gives you the ability should you feel confident enough you can attempt to tackle a project head-on (and go online if you get stuck and need some help). Or you can jump online from the get-go and get all the details before you begin.
Endless possibilities for Raspberry Pi Projects is why it is so awesome!
That is half of the beauty of the Raspberry Pi, you can tackle projects depending on your level of expertise.
Projects can be as simple as downloading a few programs and installing them, or complex like soldering wires, writing code, and connecting multiple Raspberry Pi units and other devices together. This allows for a nearly endless learning experience that can educate newbies and novices all the way up to professionals.
The limitations of the Raspberry Pi is about what you would expect from a credit card-sized micro-computer.
Its overall performance is comparable with a mid-1990’s computer- though the graphics are much better. The graphics are best compared to the original Xbox graphics released in late 2001.
The speed and amount of memory available (512MB at most) are also victims of the Pi’s limited size. All of this makes it a bit laggy and less snappy than the amount of computing power that we are used to today.
Still, you can’t have everything, right? What the Pi lacks in these areas it more than makes up in versatility, price, and ease of use.
Pi Projects
So how easy, or difficult, is it to do some of the things I mentioned earlier?
Let’s take a look at some of the projects.
One of the most popular projects can be put to use at home or in the classroom, turn the Raspberry Pi into a weather station. Depending on the features you want this project can get complex or remain relatively simple.
You have the option of making plug-and-play kits, buy sensors separately and figure out how to plug them into your Pi, or go completely DIY and create everything from scratch. You can decide if you want it to simply collect and store data found online, or collect its own set of data that will give a very localized readout.
A component called a Sense HAT works wonderfully if you want somewhere in the middle of a completely DIY project and a very simple plug-and-play kit. The Sense HAT plugs in right on top of the Pi and has the ability to measure temperature, humidity, and barometric pressure. Of course, you’ll also have to decide how you want to display the data.
The Sense HAT, has a small (8×8) LED display, but you can also choose to send the data to a website like Weather Underground which allows you to set up and check your own weather station (as well as your neighbors or classmates).
Each one of these functions can be broken down into more steps for more control over the project.
For example, the older generations of the Raspberry Pi don’t have a WiFi module built-in, meaning you will need to source your own module and connect it. Additionally, instead of getting the Sense HAT, you can choose to design your own sensors (rainfall, wind speed/ direction, air quality, and many others) and display solutions.
Another project that can easily be scaled for the difficulty is turning the Raspberry Pi into a storage device. This is a great idea to introduce to kids how files are stored, and that although it may be in a ‘cloud’ it still relates to a physical place.
You can do this by adding an SD or Micro SD card (depending on the type of Raspberry), a USB drive, or another type of external drive.
To add a little more complexity to it, you can add security software to see who has been accessing the cloud, and change the settings so you can access the cloud outside of your own network. Now all of this might sound a bit overwhelming, but as I said, it’s been done before and you can bet there is a how-to guide that you can easily find online, like this one.
Whether you are an educator looking to introduce or expand your students’ knowledge about computer hardware and programming, wanting to teach your own kids at home, or are a fully grown adult who has always wanted to explore computer science, the Raspberry is perhaps the best tool out there to do it.
Its versatility and scalability in difficulty make it a learning tool for all ages and skill levels.


