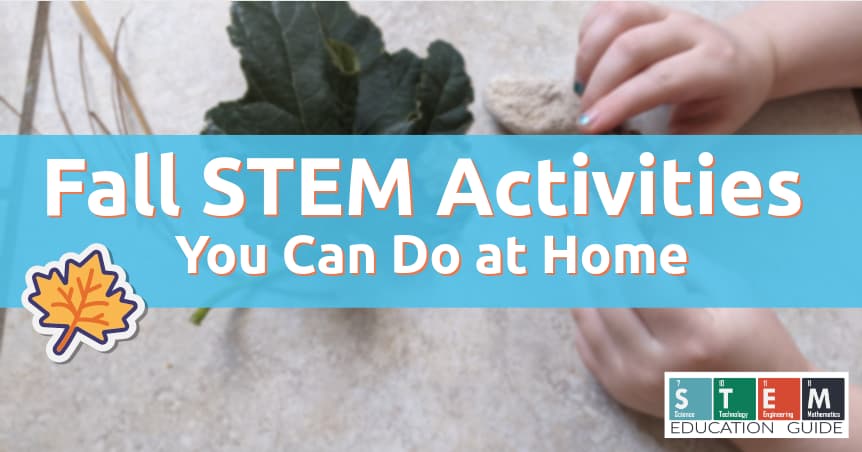
The changing seasons create many opportunities to engage in critical thinking and STEM activities.
Children note the changing seasons, and often want to know why.
They notice that things change all around them. In Autumn, the temperature cools down, nature is different, and the smells are changing. Autumn provides the perfect opportunity to practice fall STEM activities.
Table of Contents
Preserving Fall Leaves
This science experiment will demonstrate how to preserve the colors of the leaves. Fall produces some beautifully colored leaves. This will show you how to keep them the same vibrant color.
While there is no best way, there are many ways to preserve leaves. The first thing is to set the expectation. The leaves of autumn are gorgeous in color.
Yet, it is difficult to preserve the exact brightness- especially red. The colors will be nice but may not be as vibrant as what you began with.
Pressing Leaves

This is a classic and easy method of leaf preservation. Make sure the leaves are dry and place them in between two pieces of newspaper. Pile on books or purchase a leaf press.
Advantages:
- It’s easy to do with little cleanup.
- Leaves are flat, wherein you can create collages or other crafts.
- Yellow and green leaves do well. However, over time, they will go brown and darken.
Disadvantages:
- Takes a few days (1-2).
- Leaves can become brittle and delicate.
- Red colors are the most “lost.”
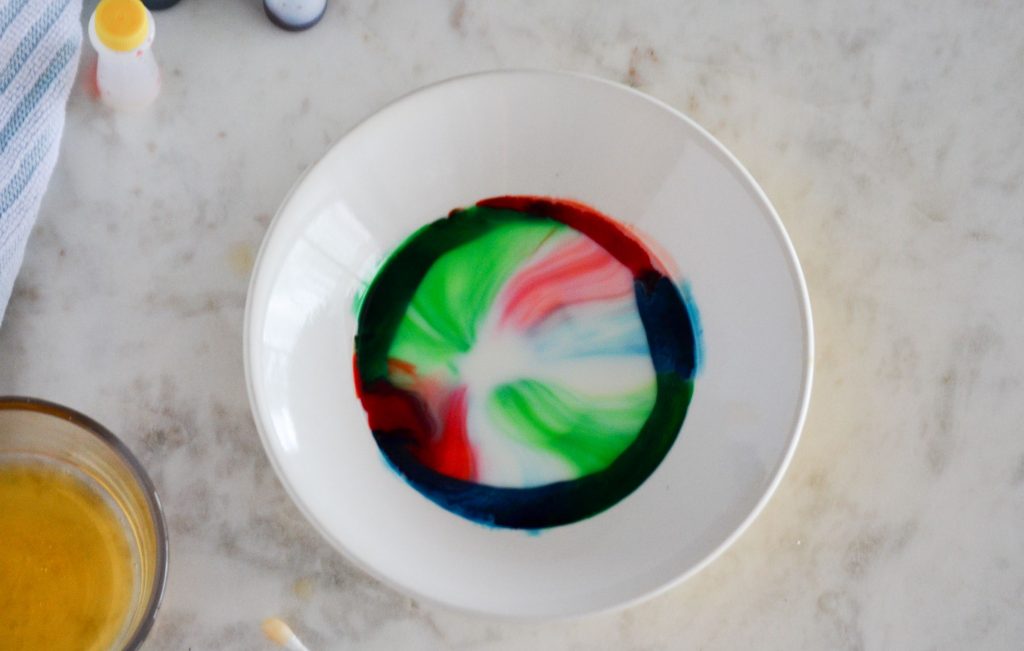
It’s an excellent opportunity to do some STEM experiments inside if it’s cold or bad weather outside. Please look at our Magic Milk science experiment with easy setup and no special items needed.
Laminating the Leaves
This requires a laminator. Leaves should be fully dry. Then feed each Fall leaf through the laminator. Laminators are cheap nowadays like this one, or If you don’t have a laminator, you can use some clear tape like this which provides close to the same effect.
Laminating them is great for initial color preservation. However, after time the colors will darken and fade.
Advantages:
- Creates sturdy leaves that can be hung on walls or windows for display.
Di advantages:
- The cost of a laminator and the plastics.
- Not as eco-friendly as pressing the lefts in a book.
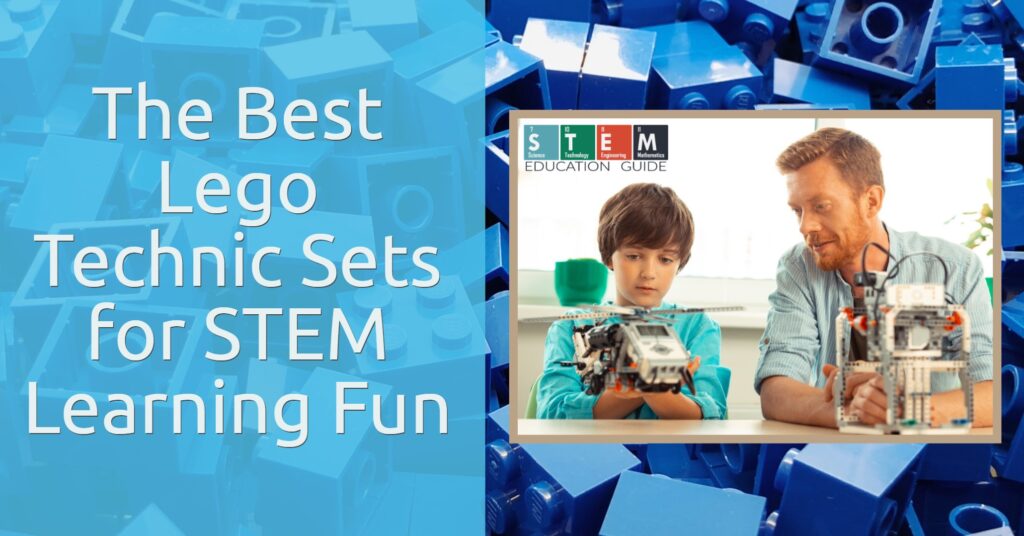
Everyone loves LEGOs but do you know they make technical LEGO sets? Please check out our article on the best LEGO Technic sets for STEM learning fun.
Leave Using Glycerin Bath
To do this science experiment, use 1-part glycerine, which you can find here or in the baking section in the supermarket. Then two parts water in the mixture.
You’ll want to fully submerge the leaf in the solution n for two or three days. To do this, pour your solution in a container, set your leaves in, and use a paper plate with a small weight (like a small rock) to push the paper plate down.
This is one of the best methods, as the leaves are still soft and pliable. They will feel like they did when the leaves first fell off the tree.
The reason for this is because the glycerine replaces the water moister in the leaf.
Advantages:
- They feel like real leaves.
- Subtle colors (this is one of the best parts).
- Great for yellow leaves as it makes the color pop.
Di advantages:
- Glycerine costs if you are doing large amounts.
- It takes three to five days.
- Leaves need to be fully submerged in the bath, but this can help teach patience to younger kids.
These are just a few methods that you can use to preserve fall leaves. There are many more, which include glue and wax paper.
Salt Crystal Leaves
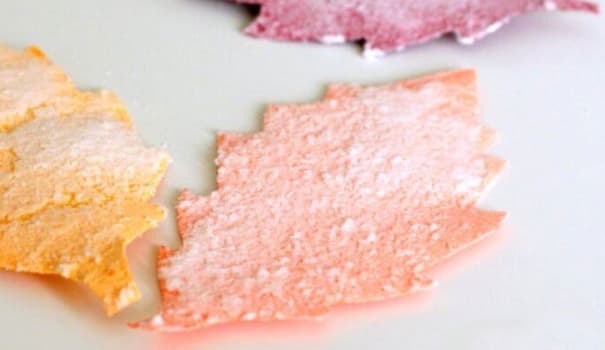
The science behind the salt experiment is that it goes in a solution that is supersaturated. In cold water, the molecules are close together. As water is heated, the molecules spread further away. This is what allows a person to increase salt to obtain a supersaturated solution. It may even appear to be cloudy, as well.
You c n do this science experiment with both cold and warmer water to illustrate te the different saturation levels required to obtain a supersaturated state. Then, compare the resulting crystals.
The salt crystals grow when the water molecules begin to come together. The salt particle located in the solution falls out and onto the paper. More connect with molecules that ha e previously fallen out of the solution. This allows the crystals to continue growing.
Materials:
- A pot
- Salt
- Scissors
- Construction paper
- Cookie tray or plate
Instructions:
- Cut leaves out from the paper. A cookie-cutter can be used, or you can do it freehand. Leaves found outdoors can be traced well.
- Boil one cup of water and add just enough salt to make the mixture oversaturated. Stop when crystals begin forming on the wat r’s surface.
- A microwave can also be used to heat water, and salt can be added after. Heat one cup of water for two minutes. Then stir one tablespoon n of salt each time. It usually takes about three tablespoons for oversaturation.
- Place the leaves on a plate. Leave a space between ea h one.
- Create and pour a thin layer of saltwater solution over the leaves.
- Allow the leaves to sit until the water evaporates. Examine the leaves as they dry and watch the growth of the crystals.
- Let them completely dry on paper towels. Then explore the results. A magnifying glass will allow the children to view the crystals.
Popcorn and Salt
This science experiment is very simple and uses items commonly found at home.
A Fe Simple Materials:
- 16 oz. glass jar with a lid
- ¼ cup of popcorn kernels
- 1 cup of table salt
Instructions:
- Pour salt and popcorn kernels into the jar. Seal it with a lid.
- Roll it on a flat surface. This will allow the popcorn and salt to mix.
- Turn it upright. Then gently tap the jar on a flat surface. The popcorn should separate from the salt.
Then, you can get your kid to record the results. Why did they separate? What caused this reaction to occur?
For some more fun family activities, please take a look at our article with a ton of Fall Activities!
Harrowing Halloween
Another other fun STEM activity includes making slime from pumpkin insides and creating an oozing pumpkin using baking soda and vinegar. To do that experiment, go to your local pumpkin patch, gr b a pumpkin, then hollow out the inside. You can also cut out a face to make it a little creepier, too.
Place a bowl of vinegar inside the hollowed-out pumpkin. Then, add baking soda. Watch the explosion come out of the pumpkin while the acids and bases mix. You can also add food coloring for a more Halloween feel.
KiwiCo has a kit for this STEM activity with everything included. They have wonderful science experiments for kids; you can see all of them here.
Wrapping Up
These are four different types of experiments that you can do to incorporate a bit of autumn in your fall STEM activities. It captivates the beauty and splendor of nature, creates a leaf crystal, demonstrates what happens to popcorn and salt, or gives you a spooky science experiment to awe your neighbors!
The pumpkin experiment tends to be the most popular and allows you to do something further with leftover, carved pumpkins.
Before Halloween, you can delight children coming by and teach them about STEM learning. Afterward, it becomes another way to use a left-over pumpkin.
Want more fun STEM experiments? Please check out our article on quick and easy-to-setup STEM experiments.