Home laser engraving has become an easy entry point into STEM and STEAM education.
I’ve watched this technology peak students’ imaginations, allowing them to connect the dots between scientific concepts and tangible outcomes.
The integration of laser engraving within STEAM — combining science, technology, engineering, art, and mathematics — offers a hands-on learning experience in an innovation and creativity in a classroom setting.
Through laser engraving, students learn by doing!
Table of Contents
Key Takeaways:
- Laser engraving bridges multiple STEAM disciplines, enhancing hands-on learning and creativity.
- It offers diverse practical applications that encourage students to engage in project-based learning.
- Understanding the safe use of engraving technology and selecting the right tools is essential for educators.
Understanding What Laser Engraving Is

I really just think laser engraving is cool! I love the tech, process, finding/making designs, and, of course, the results.
It fascinates me as both a precise and innovative method for creating detailed designs on a ton of different materials.
The process shows its potential for transforming education within the STEAM (Science, Technology, Engineering, Art, and Mathematics) fields.
Before we get too deep, I have a great guide and kind of a beginner course on the intro to laser engraving here.

Basics of Laser Engraving
Laser engraving works by a focused laser beam to alter the surface of a material.
Here’s the simple truth: The beam, guided by a computer, vaporizes the material to etch images or text with incredible precision.
It’s the fine control that allows for both superficial marks and deep engravings, pushing the boundaries of craftsmanship and technology in the classroom.
- Operating Power: The strength of laser engravers is going to depend on the type and model. Some are capable of cutting through materials, while others are more suitable for marking surfaces. Some, do both!
- Material Compatibility: These systems adapt to different materials. For the laser cutter/engraver I use, the xTool F1, it automatically adjusts the strength of the material. Some materials for engraving and cutting are wood, acrylic, plastic, glass, and even some metals, making lasers versatile for various projects.
If you’d like to see a full breakdown of the laser engraver I use with my homeschool kids, you can find the full review here.
Types of Laser Engravers
Let’s talk about the diffent laser engravers, the three most common types: CO2, fiber, and diode lasers. Each has its use depending on what you need it for and the material you’re going to use.
- CO2 Laser: CO2 lasers are known for their efficiency with non-metallic materials. They use a carbon dioxide gas mixture energized by electrical current to produce a laser beam that can cleanly cut and engrave materials like wood and acrylic.
- Popular in schools: due to their ease of use and safety features.
- Fiber Laser: From everything I’ve researched, I find fiber lasers incredible for marking metals and plastics. They generate a laser from a “seed” laser and amplify it in specially designed glass fibers.
- Marking Applications: ideal for durable, high-contrast markings on robust materials.
- Diode Laser: If you’re thinking about something more compact, diode lasers are akin to LED lights. This is what I have. They direct photons through a lens to the material after stimulating electrons at a junction.
- Affordability: These are often less expensive, making them a good start for beginner engravers. Small and portable.
Laser Engraving in STEAM Education

Introducing laser engraving into classrooms has transformed STEAM education. Not only is it something that will get kids interested in science, It provides a hands-on approach that engages students in Science, Technology, Engineering, Art, and Math.
Integrating Laser Engraving into Schools and Homeschool
To successfully implement laser technology in schools, I find that you need to consider equipment costs, safety procedures, and capacity for professional development.
You have to balance the initial investment in laser engravers with the long-term educational benefits. If you’re looking for a way to justify the cost, find projects for students that would benefit from using a laser engraver or cutter. This will show off what you’re trying to accomplish and why the school needs one.
For instance, AP Lazer machines offer an engaging way for students to learn physics principles through CO2 laser interaction and 3 axis motion control. These are larger machines that will need a dedicated space and are not that portable.
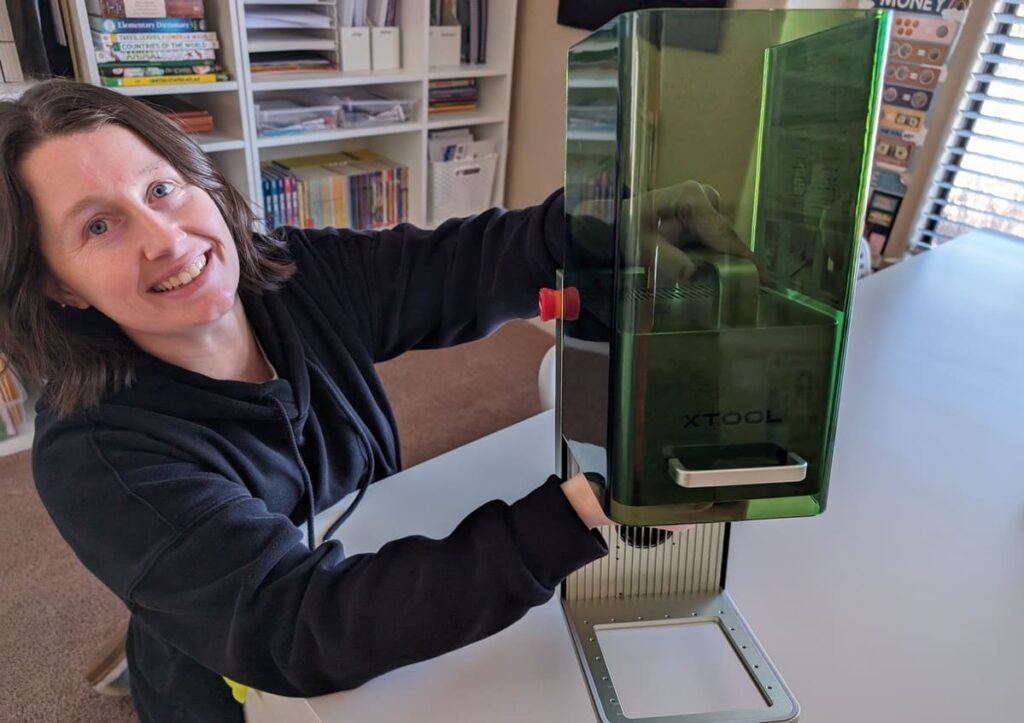
If you need something portable and a lot more cost-effective than the CO2 laser, than look at the xTool F1. This is the most powerful portable laser cutter/engraver right now. They also have an education program with a bundle that will come with material and a smoke filter.
To get a better look at the xTool F1, you can find my full review here.
Now, safety.
safety training for both students and teachers is a must. If they are opposed, the laser is dangerous.
Just like a knife, if you’re using it the worng way, you’re going to get hurt!
Clear guidelines and thorough training can ensure that laser engraving is a stimulating and safe experience.
As a tool, laser engravers complement existing subjects and open up new avenues for creative expression and technical skill development.
Laser Lesson Plans
As a teacher, make sure that your lesson plans focus on the relevant STEM and STEAM concepts, such as the physics of laser action and the engineering behind machine operation.
For example:
- Physics: Explore how CO2 lasers function and interact with different materials.
- Engineering: Discuss the design nuances and software integral to laser engravers.
Curriculum development around laser engraving should incorporate both theoretical knowledge and practical skills for students to get the most out of it.
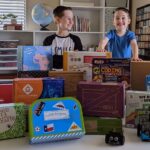
Students often thrive when they can see the tangible results of their work, whether it’s a laser-cut design or an engraved project that they’ve made themselves. This is another reason for the first few projects: I like kids to choose what they make. They get that quick stratification as they see the technology work!
Practical Laser Projects
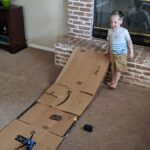
Laser engraving is my bridge to hands-on learning in STEAM. It is perfect for turning theoretical ideas into tangible, functioning prototypes or art. This works for every age kid. Young kids, while I would never let them set up and control a laser themselves, find laser engraving fascinating.
Older kids love the projects, too, but they also want to know how the laser and software work!
This is perfect because it turns a cool project into a learning opportunity.
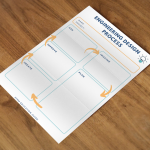
From Concept to Prototype
When developing a concept, my goal is to create a prototype that is as close as possible to a real-world product.
I’ve used laser engravers to cut precise components from materials like acrylic, wood, and even leather coasters. This enables me to test designs and functionality before committing to mass production.
Here’s how I typically break down the process:
- Design: Crafting digital blueprints using software. I use a software called xTool Creative Space V2.0, but their are other free softwares you can try out.
- Material Selection: Choosing the right material for the build—each offers different qualities. You’re going to make some bad engravings first, so make sure you get extras.
- Laser Engraving/Cutting: Precisely cutting or engraving parts according to my designs.
- Assembly: Constructing the prototype from the laser-cut pieces.
For example, I’ve created gear systems from wood to test mechanical interactions and sleek acrylic casings for handheld gadgets. I’ve also had fun just putting our logo on a Matel business card and trying out new things.
Creative Materials and Design
My kids’ artistic side thrives when they experiment with laser engraving. We mix and match materials like wood, plastic, and even textiles to produce art pieces or functional designs.
The variety of textures and finishes opens up a world of creativity. Here’s a simple breakdown:
- Wood: Ideal for rustic or natural-looking pieces; great for educational models.
- Acrylic: Offers a clean, modern look; perfect for decorative items or models.
- Leather: Provides a luxurious feel; excellent for custom gifts or educational replicas.
- Plastic: Versatile for colorful and lightweight designs; often used in classroom settings for teaching design principles.
You can find all these materials in a bundle here.
My kids and I crafted everything from tessellated puzzles showcasing math concepts to personalized laptop cases that catches everyone’s eye. Whether for utility or aesthetics, the materials we choose play a significant role in the project’s outcome.
Software and Hardware for Laser Engraving
Going through laser engraving software and hardware is critical for achieving precision and creativity in STEAM education. I’ll guide you in choosing the right tools for your projects.
Choosing the Right Software
When starting with laser engraving, selecting the right software is a game changer.
For Windows users, LaserGRBL and the software that came with my laser engraving machine, xTool Creative Space, are solid free choices. Mac and Linux enthusiasts (I use Arch, BTW) might consider Inkscape for its versatility and no-cost access. Inkscape is free, open software.
Software like AutoCAD, CorelDraw, and Adobe Illustrator are industry favorites, offering a comprehensive set of features for intricate designs. After you make your design in this software you’ll just move it over to the software you’re using with your laser.
It might sound like a lot of steps, but it’s not once you get in there and start working on a design.
| Platform | Software | Pros |
|---|---|---|
| Windows | LaserGRBL | Free, user-friendly |
| Mac | Inkscape | Free, open-source |
| All | Adobe Illustrator | Vector-based, detailed editing |
| All | AutoCAD | Precision drafting and design |
| All | CorelDraw | Versatile graphic design |
Must have Laser Engraving Accessories
To complement the software, certain laser engraving accessories enhance the engraving experience.
Proper glasses are essential for eye protection, and a reliable exhaust system is crucial for venting out fumes. Here’s a list of accessories that I find essential:
- Safety Glasses: Protect your eyes from harmful laser reflections.
- Exhaust System: Keeps the workspace free from noxious fumes.
And, of course, the heart of the operation lies with the laser-cutting machines themselves. They range from budget-friendly models for beginners to advanced machines for professional results.
Safety and Best Practices

I always prioritize safety and best practices. I’ve learned that applying a little common sense and following some key guidelines goes a long way in keeping me and my fellow makers safe.
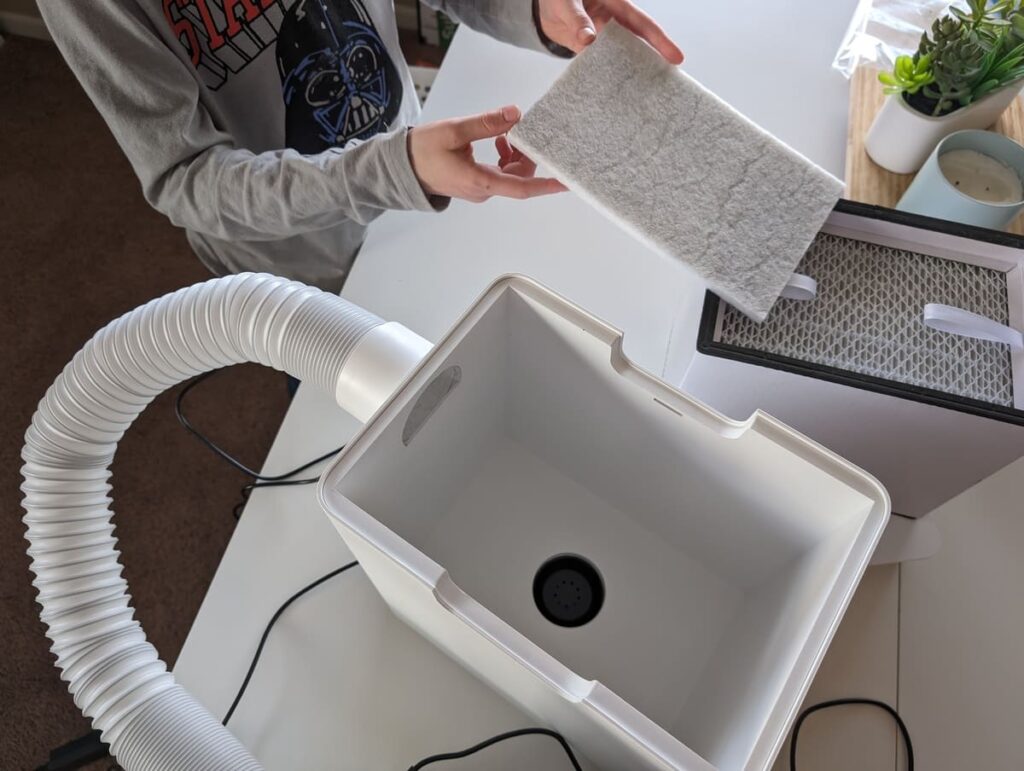
Personal Protective Equipment (PPE): I make sure to wear safety glasses designed to protect against laser radiation. Depending on the material I’m engraving, I may also wear a dust mask to avoid inhaling any particles. If you have a desktop smoke filter connected to your engraver, you won’t need the dust mask.
Smoke Purifier: Lasers can vaporize materials, producing fumes. To keep the air clear, I use a smoke purifier or ensure good ventilation.
Here’s a quick list of safety measures I stick to:
- Emergency Stop Button: Always within reach in case things go sideways. It’s going to be on your laser cutter; know where it is!
- Laser Power: I match the power setting to the material I’m working on. Less power for thinner materials; more for thicker ones. Most software will have an automatic setting. Play around with this first before going manual.
When it comes to advancing my skills, I tap into various resources:
- Tutorials and Courses: I watch tutorials from reputable sources or sign up for courses to stay up-to-date with best practices.
- Makerspace Protocol: If I’m in a makerspace, I follow their safety guidelines closely. They’re usually well-versed in what works.
Frequently Asked Questions
In this section, I’ll answer some of the most common questions I come across about laser engraving, especially when it comes to getting started and creating new, awesome projects.
What are some cool projects for laser engraving beginners?
Starting with laser engraving is exciting, and one of the best beginner projects is personalized rock and leather coasters.
They’re simple to design, give a practical introduction to laser engraving, and when finished, you have customized items perfect for gifts for the family or selling.
Can you list the top-selling items made with laser engraving?
Absolutely, top-selling items include personalized jewelry, bespoke signage, custom phone cases, and engraved drinking tumblers, which are huge hits. The personalized touch added by laser engraving really seems to resonate with buyers.
What creative wood engraving projects can be done using a laser cutter?
Wood is one of my favorites to work with! You can make wall art, customized cutting boards, and detailed map engravings if that’s your thing that truly showcases what a laser cutter is capable of regarding creativity and precision.
What are some tips for engraving on acrylic with a laser machine?
Remember to remove the protective film when engraving on acrylic with a laser machine. It seems basic, but people forget.