
If you live in an area where snow is a regular occurrence, you can do more than look at snowflake pictures. Learn about snowflakes hands-on by catching, collecting, and observing snowflakes under a microscope.
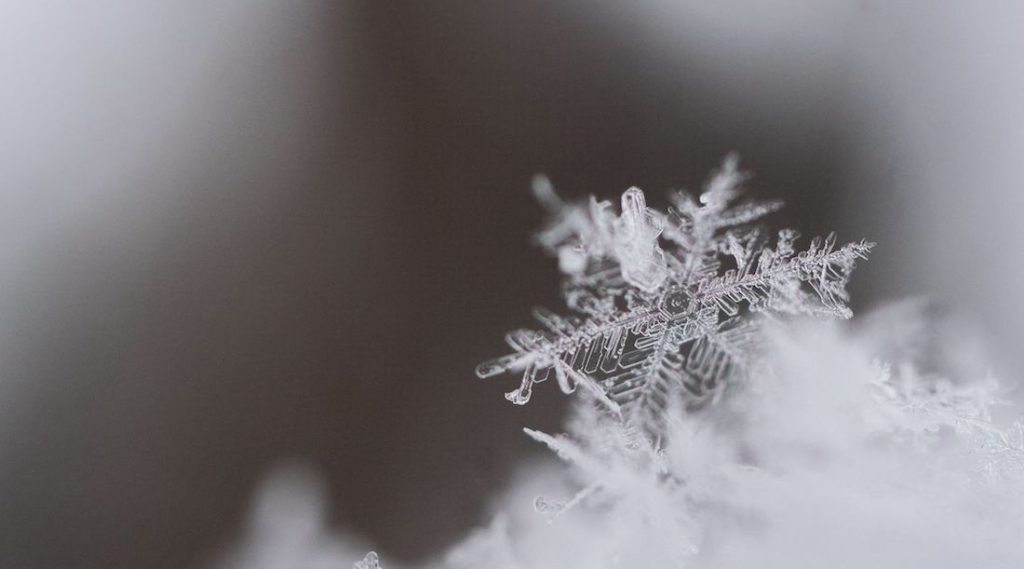
You’ve likely seen the beauty of snowflakes with just your naked eye. When a snowflake falls on your sleeve or into your hair, you can see the intricate, unique pattern of the ice crystal. However, looking at them under a magnifier or microscope is a fun activity for kids to see the magic of snowflakes up close!
We’ll go over in this article the science of snowflakes, easy ways to collect snowflakes to observe under a magnifying glass or microscope.
If you’re looking for a microscope, please take a look at our microscope buyer guide.

Table of Contents
Science of Snowflakes: Why No Two Snowflakes are Alike
Snowflakes form when water vapor in a cloud immediately turns to ice around a small particle, like dust. This process is called deposition (when the liquid stage is skipped and matter immediately turns from a gas to a solid.)
You can’t see the small particle that the water vapor crystallizes around with the naked eye or even a standard microscope. But if you put the snow crystal under an electromagnetic microscope, you’ll see the ice nuclei.
The “classic” snowflake is a 6-sided ice crystal. This is of water’s molecular structure. Atoms and molecules can connect in different ways, and for water, they connect into a hexagonal lattice. That’s the snowflake shape we’re most familiar with.
But what causes each snowflake to be different?
The temperature at which the crystal forms and the humidity of the air help determine the basic shape of the ice crystal.
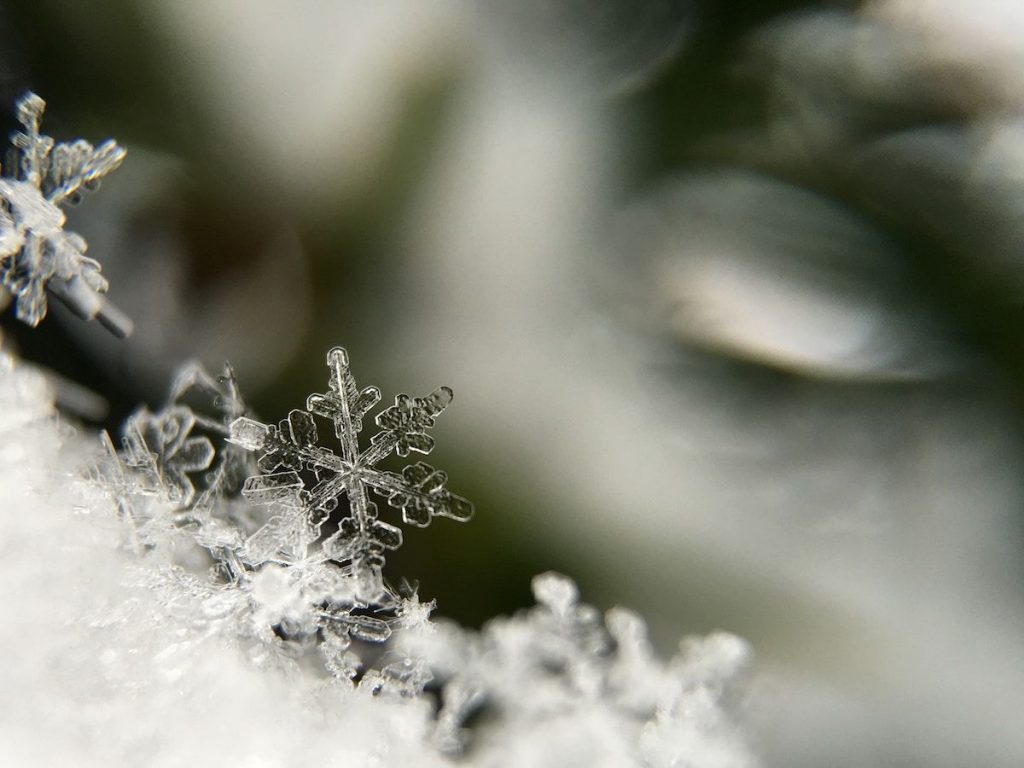
The intricate shape of a single arm is then determined by the atmospheric conditions as the entire ice crystal falls. As the ice crystal falls, a change in temperature or humidity causes the arm of the crystal to begin growing differently. Because no snowflake can take the same path down from the atmosphere to the ground, we see that for all intents and purposes, every snowflake is unique.

How to Collect Snowflakes
The easiest way to observe snowflakes is to catch them just as they fall.
You’ll be able to best see the shape of the snow crystal by collecting them on a dark surface. Go outside with your children or classroom just as the snow begins to fall with a piece of black construction paper to catch the snowflakes.
You’ll be able to see the intricate patterns with your naked eye, but looking at the snowflakes under a microscope is always fun! You can use a simple magnifier like this one.
Have your kids count how many sides each snowflake has. Can you draw the shape? Do any of the snowflakes look the same?
Looking at Snowflakes Under the Microscope
To look preserve snowflakes and look at them under a microscope, you just need the slides!
Put the slides in the freezer for 1-2 hours to ensure the glass is chilled and doesn’t immediately melt your snow crystal Try to avoid having any moisture on the slides when you chill them, so you have a clear slide to look at the snowflakes.
Right as it snows, go catch your snowflakes on your slide! You can also lightly spray the slide with hairspray to help the snowflakes stick.
You can place the slides in the freezer to preserve the snowflake, or immediately begin inspecting them under the microscope.
Wrapping Up
Snowflakes are magical, but the science behind them is even more fascinating! In fact, scientists know a lot about snowflakes, but they don’t know what causes each different type of ice crystal pattern.
You can take observing snowflakes under a microscope a step further too by then having your class create their own paper snowflakes or snowflake models. I really love this snowflake tinker tray project as a way to reinforce both lessons in symmetry and the shapes of snowflakes.
Related Posts:
- 14 Simple STEM Activities You Can Do in an Hour or Less
- 12 Coolest Winter Science Experiments & Activities