The Scientific Method is a method and process used to conduct research. It is an easy way to provide a road map that kids can use to quench their hunger for curiosity.
They are constantly trying to figure out how the world works around them, and by providing them with the Scientific Method as an outline, they can navigate their way to success.
It can help students develop traditional cognitive skills, including logic, rationalization, and problem-solving through the application of the Scientific Method.
Table of Contents
What is the Scientific Method
It may seem boring to experiment with the Scientific Method, but it provides kids with the tools needed to solve any problem or question!
It doesn’t necessarily mean filling out a worksheet as done in school or, in many cases, even writing anything down. The Scientific Method for kids is a proven method and process of research. It works as a step-by-step guideline to teach people, including kids, how to experiment properly and come to an evidence-based solution.
It is how people study and learn things! If you think your child can study and learn things, then they can most certainly use the scientific method.
Steps of the Scientific Method
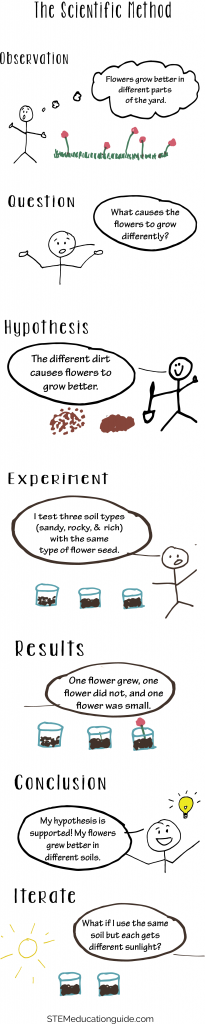
- Ask a Question (Channel your inner curiosity and pose a question)
- Make a Hypothesis (Create a prediction: What do they think will happen?)
- Research (Gather information and observe what it is you are really studying)
- Experiment (This step may need to be repeated, A LOT. Keep on trying!)
- Make Observations (Yup, more observations. Examine what is happening.)
- Draw Conclusions (What happened compared to what you thought would happen? What would happen if you change a variable? This could be the part where you revisit step 4 and try all over again)
- Share and Discuss Results (Share them with everyone! The more you collaborate, the better your study will be)
Scientific Method Experiments for Preschoolers
For preschoolers, we will use a more toned-down version of the scientific method to not inundate them with a long, scary list.
- Ask a Question
- Ask them what they think will happen (Hypothesis)
- Test it out (Experiment)
- What actually happened? (Conclusions)
Scientific Experiments:
- The Fastest Fizz
- Sink or Swim
- Blow the Biggest Bubble
The Fastest Fizz
Materials Needed:
- Two identical glasses or jars (Any type of container for the water)
- Spoon
- Ice cubes to fill the glass up to halfway
- Water (Cold and hot tap water will do)
- Two Alka-Seltzer Tablets
- Timer
- Thermometer (Optional: To measure the temperature of the water before dropping the Alka-Seltzer)
Scientific Method Steps:
- Ask a Question: How does the temperature of water affect the fizzing of Alka-Seltzer?
- Hypothesis: Will the Alka-Seltzer fizz faster in warm or cold water?
- Experiment:
Step 1: Fill one glass halfway with ice cubes
Step 2: Add cold water to that glass up to an inch from the rim
Step 3: Stir the ice cubes with the spoon to even out the temperature
Step 4: Remove the ice cubes with the spoon right before you will drop the Alka-Seltzer in the glasses
Step 5: Add hot tap water up to an inch from the rim in the second glass
Step 6: Drop the Alka-Seltzer into the glass with warm water and time how long it takes for the tablet to disappear
Step 7: Drop the Alka-Seltzer into the glass with cold water and time how long it takes for the tablet to disappear
- Conclusion: Which glass made the tablet disappear faster? Why might that be? What else dissolves in water?
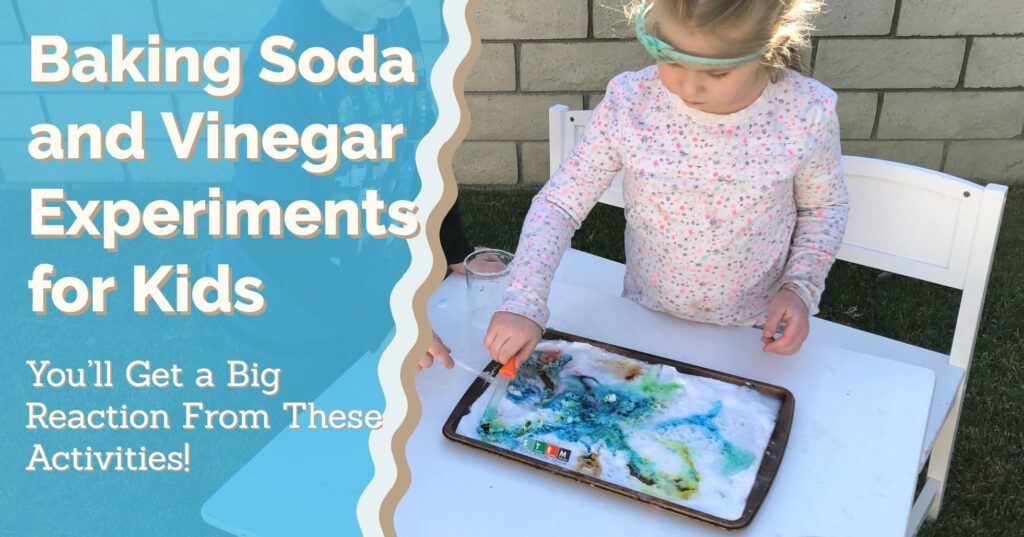
If you like to find more activities you can do at home, please check out our article, Baking Soda and Vinegar Experiments.
Sink or Swim?
Materials Needed:
- Big bowl (Any large container that holds water)
- Water
- Various items found in nature
- Recommended items: Twig
- Leaf
- Pebbles
- Feathers
Scientific Method Steps:
- Ask a Question: Which types of materials will float or sink in the water?
- Hypothesis: Which items do they think will float or sink?
- Experiment:
Step 1: Have them explore the backyard or a playground for items
Step 2: Encourage them to retrieve a variety of items including a leaf, a pebble, and/or twigs
Step 3: Place each item separately in the container of water
Step 4: Examine what happens!
- Conclusion: Which items floated and which didn’t? Why might that be!?
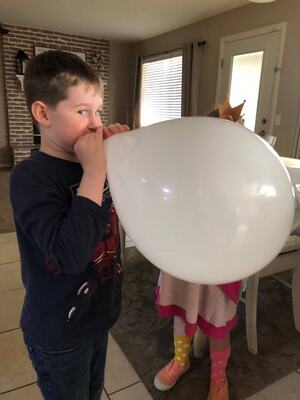
Blow the Biggest Bubble
Materials Needed:
- Bubblegum
- At least 3 different varieties
- I suggest Bubblicious, Bubbaloo, Bazooka, or even a balloon.
- Ruler
- Timer
- People!
Scientific Method Steps:
- Ask a Question: What type of gum blows the biggest bubbles?
- Hypothesis: Which type of gum do they think will be bigger?
- Experiment:
Step 1: Start with one brand of bubblegum
Step 2: Each person chews the gum for 5 minutes
Step 3: Begin blowing bubbles with your piece of gum
Step 4: Blow 5 bubbles with that brand of gum
Step 5: Measure each bubble with the ruler and write down the results
Step 6: Repeat steps 1-5 using a different brand of gum
- Conclusion: Which gum blew the biggest bubble?
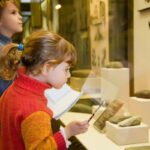
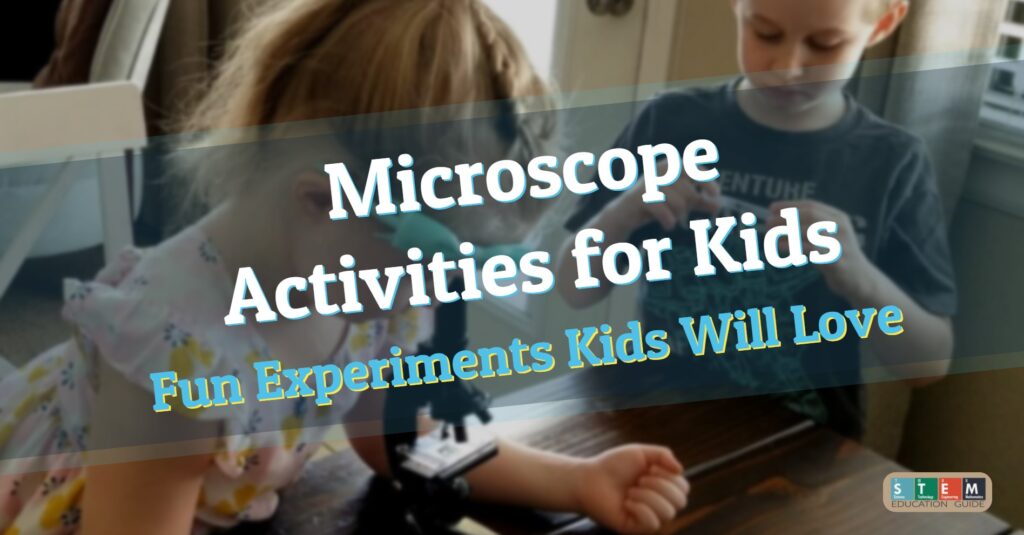
Kids love Microscopes as they can explore the unseen world around them. Please take a look at our article for more information, Microscope Activities for Kids – Fun Experiments Kids Will Love!
Scientific Method Experiments for Elementary-Aged Kids
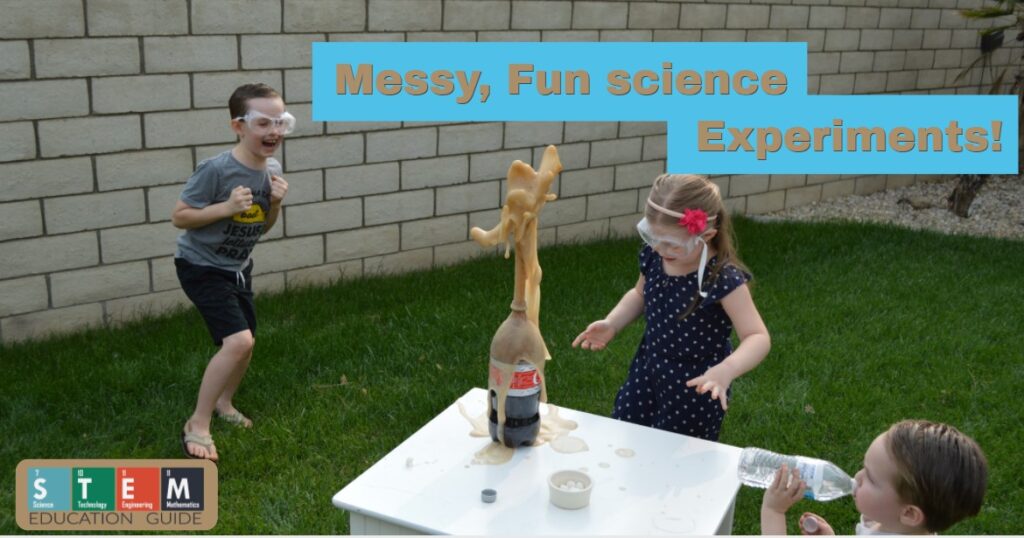
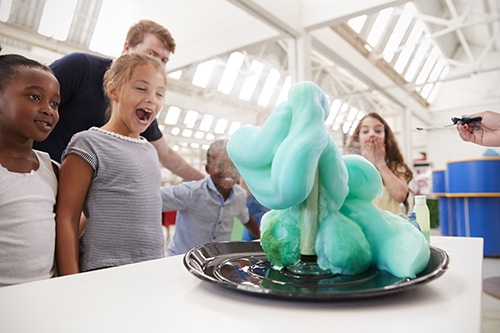
Elephant Toothpaste
Materials Needed:
- Empty Plastic Bottle
- A wide washable surface area (A large tub or tray would work well – preferable if you are in the kitchen, bathroom, or outdoors; it will get messy)
- Dry Yeast
- 3% Hydrogen Peroxide (It could be a higher percentage for a bigger reaction)
- Warm Water
- Measuring Spoons (At least 2)
- Measuring Cups (At least 2)
- Safety goggles
- Liquid food coloring (Optional)
Scientific Method Steps:
- Question: What happens when you mix yeast with hydrogen peroxide? (This may need some background information) After the first experiment: engage their curiosity by leading them to questions like: How would the experiment change if you add more yeast?
- Hypothesis: What do they think will happen? What might happen if you add more or less yeast?
- Research: Look into the chemical breakdown of what Hydrogen Peroxide is (H₂O₂) and how that can be broken down. If mixed with a catalyst, such as yeast, then the breakdown reaction can occur very quickly!
- Experiment:
Step 1: Put on your safety goggles (It may be called elephant toothpaste but don’t put it in your mouth!)
Step 2: Measure ½ cup of hydrogen peroxide and carefully pour it into the bottle.
Step 3: Add food coloring at this point if you opt to use that.
Step 4: In a separate measuring cup, mix one tablespoon of yeast and three tablespoons of warm water.
Step 5: Mix the yeast and water for about 30 seconds.
Step 6: Pour the yeast mixture into the bottle of peroxide and watch what happens.
- Observations: What happened? How fast did it happen? How much of a reaction did you get?
- Conclusions: What happens when you add yeast to hydrogen peroxide? What would happen if you added more or less yeast?
- Share and Discuss Results! Feel free to try again using different variables!
Rubber Egg Experiment

Materials Needed:
- Raw Eggs
- Household Vinegar
- Glass/Jar/Container
- Food coloring (Optional)
- Plate or tray
Scientific Method Steps:
- Question: Can you bounce an egg?
- Hypothesis: What do they think will happen? Will an egg really be able to bounce? How high will it be able to bounce?
- Research: An eggshell is made of calcium carbonate and vinegar is an acid. When the two are combined, a chemical reaction occurs that once again mixes to form a carbon dioxide gas. The vinegar can cross with the selectively permeable membrane of the eggshell through osmosis. Then, the vinegar proceeds to thicken the outer layer of the remaining eggshell to make it “bouncy.”
- Experiment:
Step 1: Carefully place an egg in the glass cup or jar.
Step 2: Pour white vinegar in the glass until the egg is completely submerged (At this point you can add the food coloring if you’d like).
Step 3: Leave the egg in the glass for at least 48 hours.
Step 4: After 48 hours, or when the egg is translucent, you can remove it from the glass and run it through water.
Step 5: Gently rub off the exterior of the egg until it is completely translucent (Or the white part is gone).
Step 6: Examine the egg and begin bouncing, lightly at first and then test how far it can go (Have a plate or tray handy as this part could get messy).
- Observations: What happened? You should also encourage them to observe the changes during the 48-hour transition process. What did it look like? What happened to the size of the egg? How did the egg feel? How high can it bounce without breaking apart?
- Conclusions: What happens when you cover an egg in vinegar? How did that happen? What other liquids will have a similar reaction?
- Share and Discuss Results! Feel free to try again using different variables!
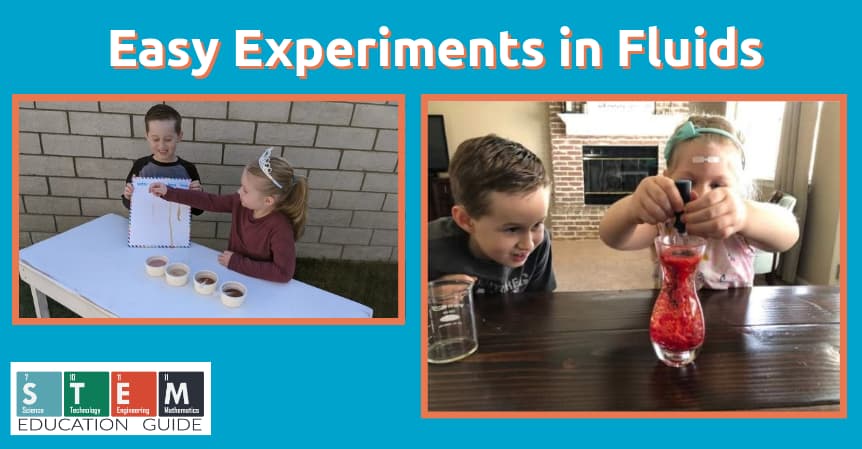
For more experiments with only a few simple items, check out our article, Easy Experiments in Fluids.
Air Cannon Experiment
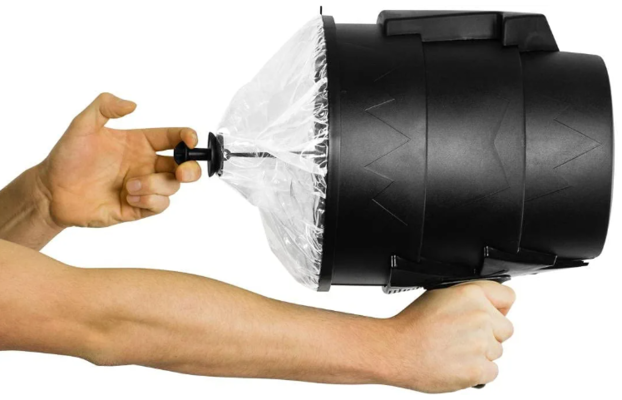
Materials Needed: (This should be done with an older elementary-aged child or make sure they are mature enough to do this)
- Plastic Bottle
- Scissors
- Balloon
- Rubber Band
- Pieces of paper/plastic objects to knock over. (Dominoes, paper towel roll, plastic cups).
- Stickers (Optional)
Scientific Method Steps:
- Question: Can you control air? Why does air move? How powerful can air be?
- Hypothesis: What do they think will happen? How strong can you make air when it is controlled? What objects can be pushed over by air?
- Research: Air is a gas making it difficult to contain or hold its shape. Air pressure and density can be felt by temperature changes or changes in elevation. Even tiny air molecules have weight, and when billions of those molecules come together, they weigh down on other objects. Look into the changes of air pressures at different levels of elevation even into the atmosphere.
- Experiment:
Step 1: Cut the bottom of the end of the plastic bottle.
Step 2: Attach the balloon to the open part that you cut off. (If you need to, you can cut the end of the balloon to make it fit).
Step 3: Attach a rubber band to the outside of the balloon to make sure it is securely attached.
Step 4: Decorate the bottle with stickers to make it look cool! (Optional step of course)
Step 5: Stretch the end of the balloon back and release.
Step 6: See how many controlled objects you can knock down. (Again, think dominoes, paper towel rolls, plastic cups, etc.).
- Observations: What happened? How does this happen? How many objects were successfully knocked down? Which objects stood strong? Why might that be?
- Conclusions: How can air be controlled? What other objects can you knock down? What is needed to make the air vortex stronger and more powerful?
- Share and Discuss Results! Feel free to try again using different variables!
While it’s always fun to build an air cannon, I understand this can be complex, for younger kids. You do have the option to buy one to play around with. You can find the current price of one right here.
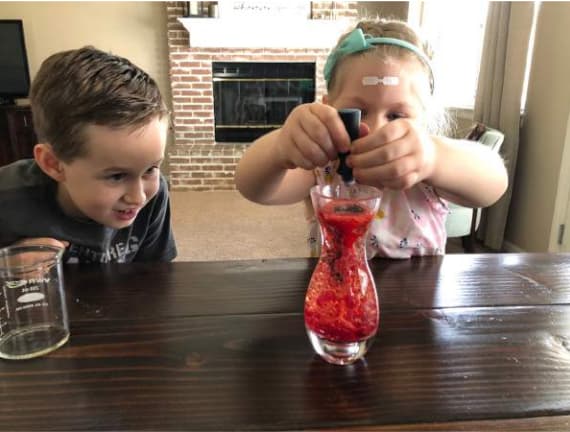
Oil vs. Water
Materials Needed:
- A glass cup/jar
- Water
- Vegetable Oil
- Food Coloring
- Measuring Cup
- Toothpick (Optional)
Scientific Method Steps:
- Question: What happens when you mix oil and water?
- Hypothesis: What do they think will happen? Will they mix? How will they mix? What will happen when you add in food coloring?
- Research: Researching density will make this experiment more valuable to your kids. Water molecules are polarized and more dense than oil. Oil is made up of non-polar molecules and is a lot less dense. Polar molecules only dissolve in polar solvents while non-polar molecules only dissolve in non-polar solvents making them not compatible, therefore, not allowing them to mix.
- Experiment:
Step 1: Pour ½ cup of oil into a glass cup.
Step 2: Pour ½ cup of water into the glass cup.
Step 3: Allow it to settle and watch what happens.
Step 4: Add a drop or two of food coloring.
Step 5: Allow it to settle and watch what happens. (If the food coloring drop needs a little bit of a push, you can do so with the toothpick)
Step 6: Examine the glass and see what happens.
- Observations: What happened? Why didn’t they mix? What happened to the food coloring?
- Conclusions: What happens when oil and water are in the same container? Why does that happen? What happens if you add different food coloring to the container? Why doesn’t the food coloring mix with the oil? What does food coloring mix with? What else doesn’t oil mix with?
- Share and Discuss Results! Feel free to try again using different variables!
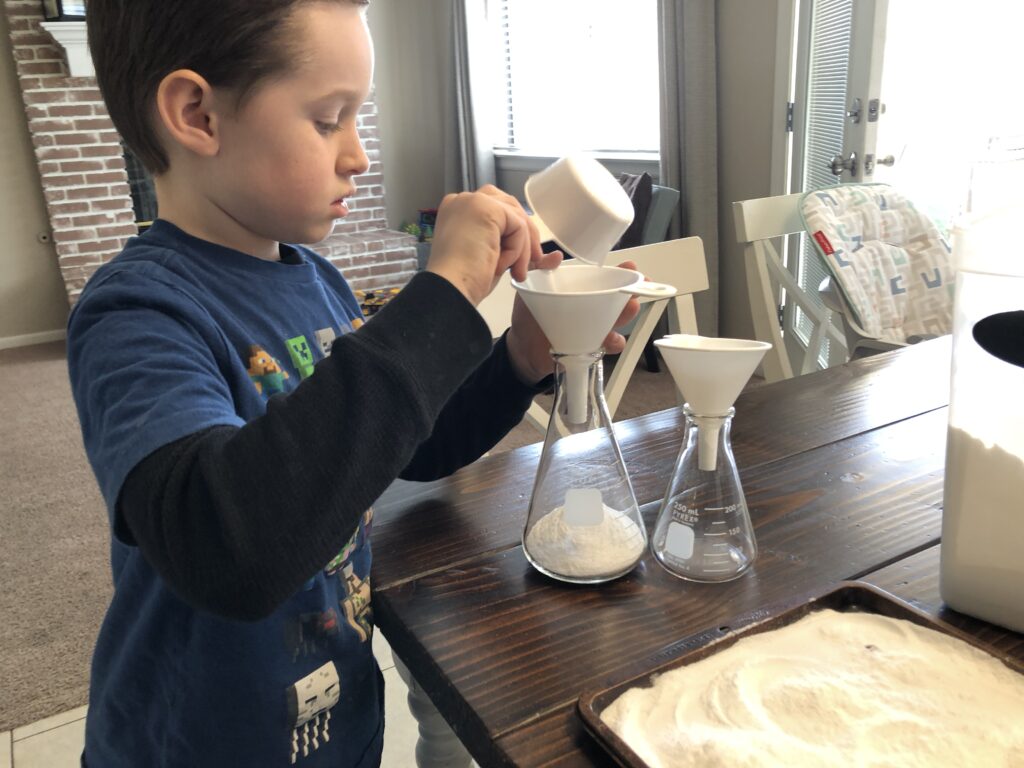
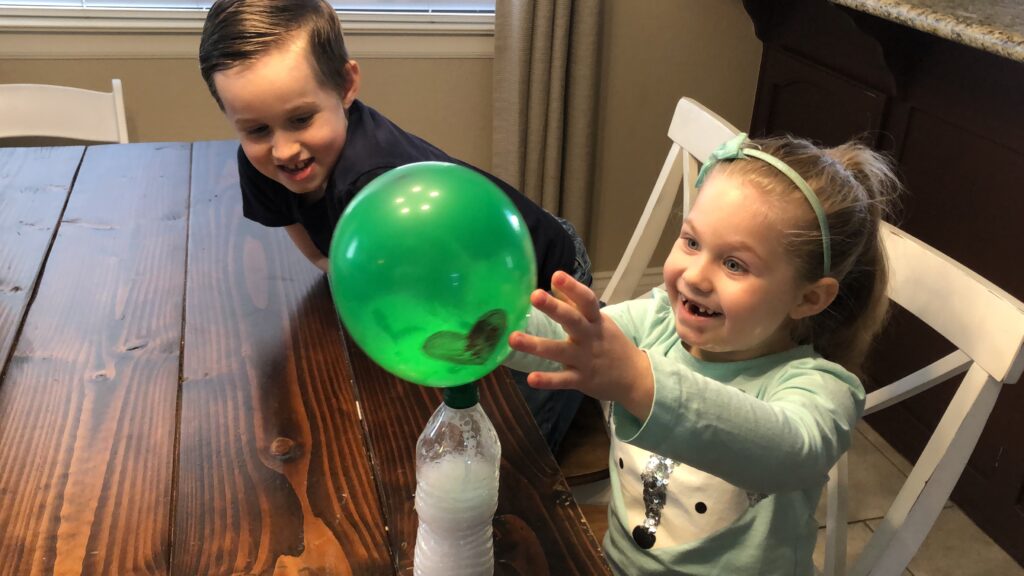
Magic Inflating Balloon
Materials Needed:
- Water bottle (Soda bottle will work just fine too)
- Balloon
- Baking Soda
- Vinegar
- Funnel (Two preferably: If you have one, then make sure you wash it completely before using it again)
- Teaspoon
Scientific Method Steps:
- Question: Can you fill a balloon without air?
- Hypothesis: What do they think will happen? Will a balloon fill with baking soda and vinegar?
- Research: You need carbon dioxide gas to fill a balloon. When baking soda (a base) and vinegar (an acid) are combined, they create carbon dioxide gas. Since the gas doesn’t have a shape, it will quickly expand, filling in all of the space that it can, resulting in an inflated balloon.
- Experiment:
Step 1: Put ⅓ of a cup of vinegar into a water bottle.
Step 2: Attach the other funnel (or the washed funnel) to the open end of the balloon.
Step 3: Place two teaspoons of baking soda into the balloon then remove the funnel from the balloon.
Step 4: Attach the open end of the balloon to the top of the water bottle. (Try not to let the baking soda mix with the vinegar when attaching)
Step 5: When the balloon is securely attached, lift the top of it so the baking soda does drop into the water bottle.
Step 6: Watch the balloon magically inflate!
- Observations: What happened? How fast did it happen? How did that happen? How long until it deflates?
- Conclusions: What happens when you mix a base and an acid? Will another acid work just as well? Is the size of the balloon dependent on the amount of acid?
- Share and Discuss Results! Feel free to try again using different variables!
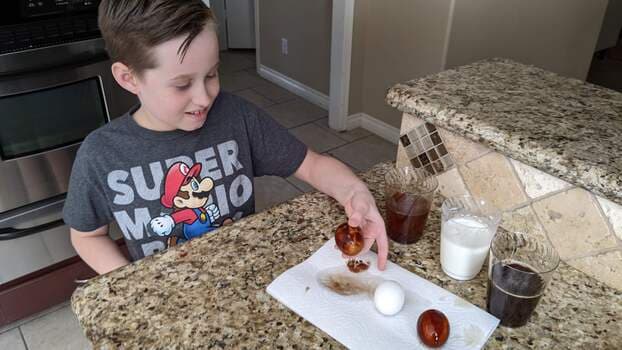
Is soda really that bad for your teeth?
Materials Needed:
- Baby teeth (This one may take a little while to get, depending on their age. Egg shells work similarly, but the curiosity may not fully be there for them. Just make sure you hard-boil them).
- Different types of soda (At least 3 – can include a sugary drink such as Gatorade too)
- Water
- Multiple glass jars (Enough for each separate
Scientific Method Steps:
- Question: How bad is soda for your teeth?
- Hypothesis: What do they think will happen? How will the soda/drink affect the teeth?
- Research: Research the acidity of different drinks and the effect they have on tooth enamel. Erosion will be the biggest effect as it occurs when the acid and carbonation of the soda touches the outer layer of the tooth, or the tooth enamel.
- Experiment
Step 1: Pour each soda or drink into its own separate glass jar up to ¼ of the way full (Up to ½ if you are using an egg).
Step 2: Place a tooth in each of the glass jars.
Step 3: Allow it to settle and watch what happens.
Step 4: Take out the tooth every day and record the changes that you’ve observed.
Step 5: After five days, take them out for good and record your final observations.
- Observations: What happened? What do they feel like? What do they look like?
- Conclusions: How did different types of soda affect the teeth? What will happen if you brush that tooth? How much do you have to brush to clean it?
- Share and Discuss Results! Feel free to try again using different variables!
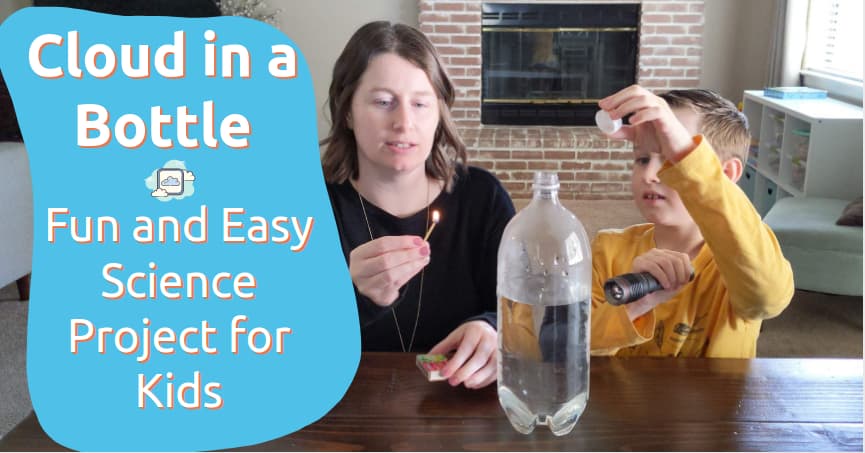
Magic Cloud
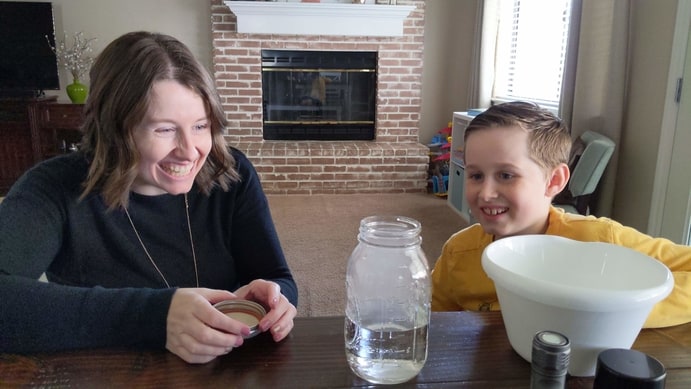
Materials Needed:
- Water Bottle (The bigger, the better for this experiment, get a 2L bottle at minimum)
- Rubbing Alcohol
- A tablespoon
- A cork or a rubber stopper (Clay will work well too)
- Ball pump or Bicycle tire pump
- Push Pin
- Safety Goggles
Scientific Method Steps:
- Question: What is a cloud made of? How does a cloud form?
- Hypothesis: What do they think will happen? Do they think they’ll be able to simulate a cloud? How can you create a cloud?
- Research: Look into the changes in the atmosphere and how clouds emerge. The pump simulates the mass junction of air molecules to create clouds. Take this as an opportunity to research different types of clouds too.
- Experiment:
Step 1: Pour 1 tablespoon of rubbing alcohol into the bottle.
Step 2: Shake the bottle around to ensure the rubbing alcohol touches all parts of the bottle.
Step 3: Use the pushpin to poke a hole in the middle of the bottle cap. (You may have to move it around a bit to make sure it is big enough for the bicycle pump)
Step 4: Add the cork or rubber stopper to the inside of the bottle cap.
Step 5: Put on your safety goggles. Slide the needle of the pump into the hole and start pumping. (The more you pump, the bigger the cloud).
Step 6: Keep your safety goggles on. Hold the bottle firmly and open the cap to release the pressure. (Be aware that a loud noise will occur here, so be prepared).
- Observations: What happened? How much of a reaction did you get?
- Conclusions: What would happen if you were to close the cap again in the middle of releasing the cloud? What would happen if you added more rubbing alcohol? How big would the cloud be if pumped more air into it?
- Share and Discuss Results! Feel free to try again using different variables!
There are a few ways you can do this, and I go into more in detail in this article.
Wrapping Up
A lot of these experiments are great but do require a lot of preparation and guidance from the parents/adults. If you really want to engage their curiosity, put every question they have to the test.
Do double-stuffed Oreos actually have twice the amount of stuffing? Test it. Are footlong hoagies really 1 foot long? Measure it. Can you revive a dead marker? Try it. Why do volcanoes explode? Research it. There is no need to keep them wondering, and it’ll pique their curiosity for future experiences.
The Scientific Method gives them the appropriate avenue to test some of these ideas, even if it is just verbally referencing them. You might learn some pretty cool things on the way too. Have fun experimenting!
Do your kids like to get messy? You can find messy STEM projects in our article, Messy STEM Science Experiments for Kids!