Learning about STEM at a young age is becoming increasingly important as time goes on.
The skills and ideas gained by exploring STEM in preschool and at home give kids a huge advantage later in life. Getting toddlers started early can instill a life-long passion in these fascinating fields.
For that reason, I’ve gathered the best STEM activities that can be done at home or in the classroom with kids as young as preschoolers.
Each of these activities is fun and teaches a different aspect of STEM. All the areas are covered, so there’s something for everyone in this collection!
What you’ll need:
These activities are all cheap and easy to set up. They can be made using materials around the house and will be a great way to entertain young kids at home.
All you need to do to prepare the preschool activities are described below, as are all the STEM ideas you can convey to your child when doing the activity.
You can ask older kids to guess what they think will happen before the experiment starts and then compare it with the actual results.
If you’re looking for STEM activities to do in a classroom or at home, take a look at my FREE STEM activities eBook that I made with my kids, you can download it here:
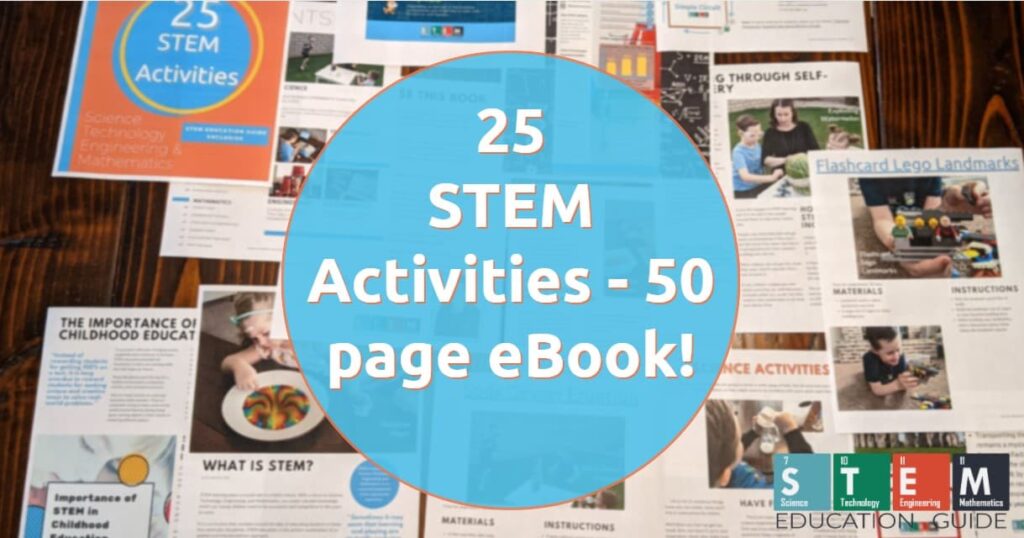
Table of Contents
STEM Science Experiments
This science activities section will cover some of my kids’ favorites. What catches my toddler’s eye might not work for your toddler. So, modify what’s needed for your household.
Preschoolers are young, so you’ll have to decide on how much involvement you’ll let your preschooler have.
Density Experiments
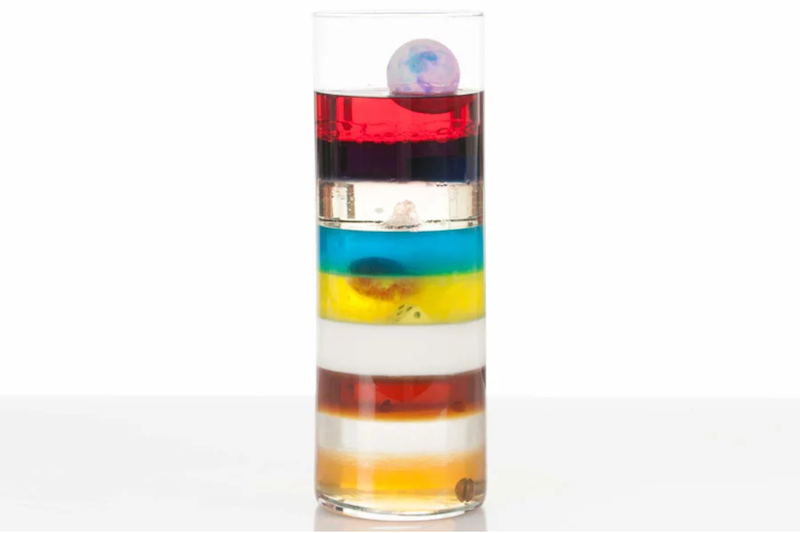
Density describes how heavy something is compared to how big it is and explains why some things float and others sink. This fun experiment shows how different items might be heavier or lighter than you think!
In this fun activity, you can see how mixing materials of different densities will cause them to separate into different layers, no matter what order you mix them in.
First, gather the materials you want to use and a large, clear container. It would help if you made sure that the container is transparent to see what’s going on from the outside. Then you add the materials one by one and see what happens.
For older kids, you might like to have them guess which sink to the bottom and which will float to the top.
Some ideas for materials you can use:
- Water (with added food coloring if you wish)
- Milk & Maple syrup
- Vegetable oil & Dishwashing liquid
- Corn syrup & honey
- Popcorn kernels
- A ping-pong ball
- Marbles & a cork
- Raisins or Different kinds of nuts, beans, or seeds
Once everything’s settled in, you can then say you’re going to mix everything up and ask your young scientist what they think will happen. With any luck, even once you’ve mixed up all your ingredients, they should separate back out again into the same layers as before.
KiwiCo Koala Crate is perfect for kids 2 to 4 years old. They make subscription kits for all ages but are known for educational subscriptions for younger kids. Please take a look at our full hands-on review of KiwiCo.

Elephant’s Toothpaste
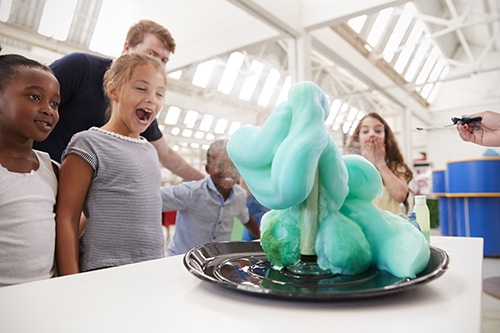
This is a great demonstration to introduce kids to the idea of a chemical reaction while also being able to get a bit messy. The elephant’s toothpaste mixes up some common household ingredients to produce a massive column of foam that looks like toothpaste being squeezed from a giant bottle of toothpaste.
Make sure you carry out the demonstration somewhere that’s easy to clean!
A brief warning: this demonstration uses hydrogen peroxide, which might irritate the skin or eyes. Be sure to prevent younger kids from handling this directly.
To arrange this demonstration, you need:
- An empty 16-ounce soda container
- Half a cup of 6% hydrogen peroxide (This can be found in hair bleaching products)
- One tablespoon of dish soap
- Food coloring of your choice
- One tablespoon of yeast (about one packet)
To start, mix the peroxide, food coloring, and dish soap into the soda bottle. Then, thoroughly mix the yeast and about three tablespoons of warm water in a separate container. After about a minute, funnel the mixture of yeast and water into the soda bottle and stand well back!
Make A Terrarium
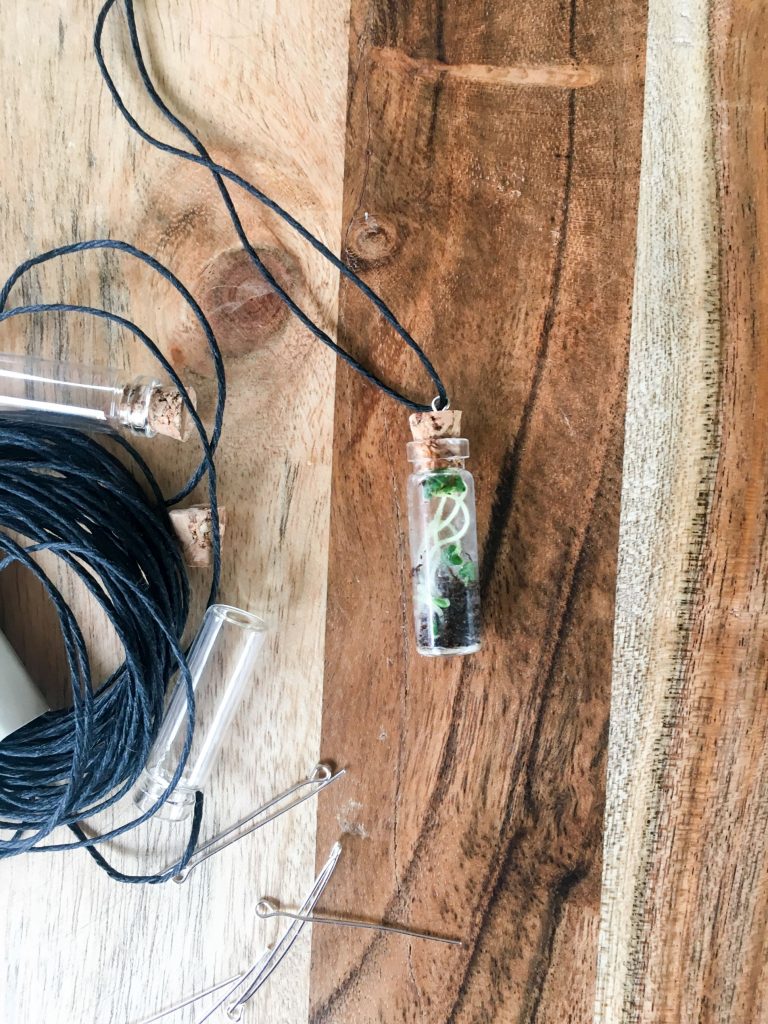
I dedicated an entire post on how to make a terrarium necklace step-by-step. I encourage you to check it out, but here are the basics.
A terrarium is a self-contained garden that doesn’t need maintenance to keep growing. This is a great activity you can do with your preschool kids that can be made relatively quickly but will have results that last for months.
It demonstrates how important each part of an ecosystem is and how all living creatures rely on each other.
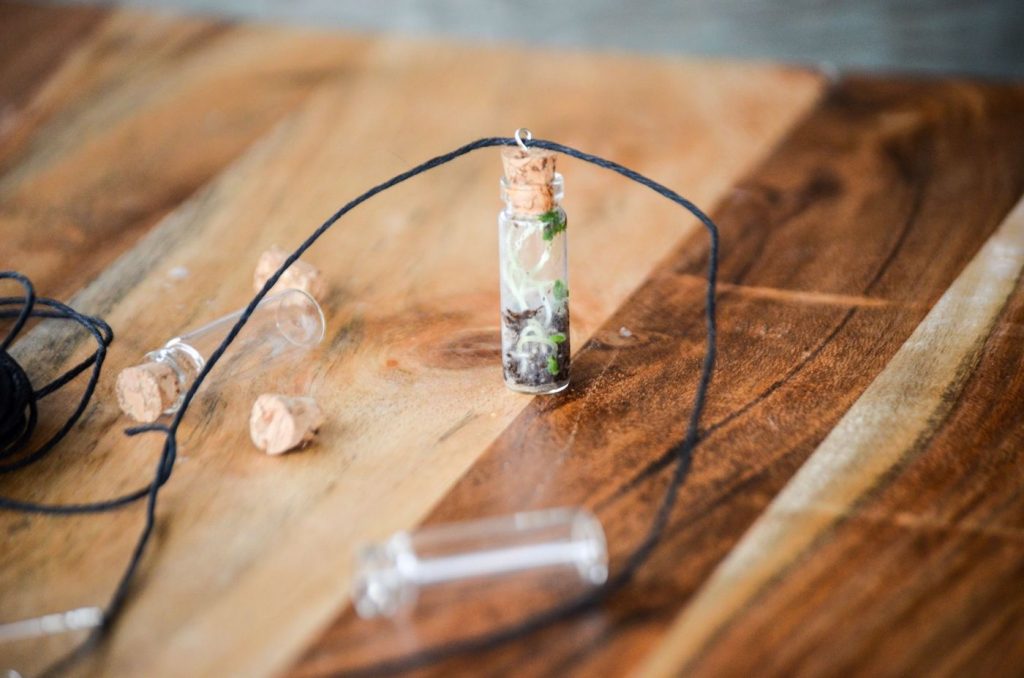
To get started, you need a large empty glass container to form the enclosure of the terrarium. It should be able to be completely sealed, so a large jam jar is a great possible candidate.
All you need to do for a simple terrarium is add a layer of damp soil. It should be wet all the way through, but with no open water swishing around in the jar. Then you can add whatever plants you choose to the terrarium and seal it up.
Once it’s all finished, place it somewhere light but not directly in the sun’s path.
Herbs are good possible choices for plants to use since they usually grow well with little maintenance. You can also use succulents, cuttings, or seeds from local plants that grow well near your home.
Personally, I like to throw some apple and orange seeds in along with all the rest. You can improve drainage for a longer-lasting terrarium by starting the jar with a sandy base layer and then adding a layer of small rocks and gravel.
Putting activated charcoal in the gravel layer can also help keep the terrarium alive for longer by absorbing excess gasses to keep the terrarium in balance.
Educational toys are great because our little ones learn while having fun. There are a ton of different toys, and it can be challenging to find the best ones. Please take a look at my article; I’ve put together a list of the best STEM toys for toddlers.
Make Your Own Crystal Rock Candy
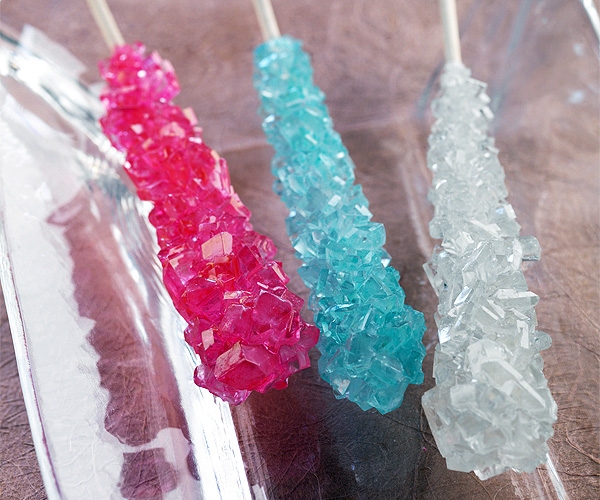
A great way to get anyone started with an interest in chemistry, this demonstration shows magic crystals forming out of nowhere to make edible rock candy.
By placing a “seed” inside of a saturated solution of sugar water, you can make crystals slowly form as you watch.
This is a straightforward experiment. Take a clean container and find out how much water it takes to fill it up to an inch below the brim. Then you’ll need to boil this water on the stove while adding sugar.
You need to keep adding more and more sugar and stirring the solution until no more sugar will dissolve.
Then add the saturated solution to the container and put whatever you want to form the crystals into the solution. You can use popsicle sticks or a clean piece of cotton string suspended from a pencil or silverware balanced on top of the container.
Over a few days, you can watch the crystals slowly form as the excess sugar in the water crystallizes.
Then after a week or so, when the crystals have reached their maximum size, you can take them out of the container and finally eat them.
For an extra twist, you can add food coloring or a flavoring of your choice to make the crystals more interesting. Vanilla essence or peppermint extract makes excellent choices.
Disappearing Egg Shell

Can you open an egg without cracking it? It turns out anyone can with some vinegar and a little knowledge of chemistry.
A great way to introduce this activity is to ask your child if they can work out how to open the egg without breaking it. Give them a few minutes to think about it until they decide it’s impossible. Then tell them you’re going to show them how it’s done!
Take a mason jar and half-fill it with vinegar, then place the egg into it and leave it for a couple of days. The acidic vinegar reacts with the calcium carbonate in the eggshell to produce calcium ions that dissolve in the water and carbon dioxide gas.
You can see the bubbles forming and watch the outside shell dissolve. Note that because of the gas produced, it’s crucial not to cover the jar tightly.
Once everything has finished reacting, you’ll be left with the impossible: an egg opened without breaking the shell!
To get more detailed instructions and a few other alternatives, please take a look at our dedicated article on How to Make An Eggshell Disappear Science Experiment.
STEM Technology Activities
All of these could have been in other sections, but I wanted to showcase them because my toddler enjoyed them, especially the catapult.
Make Your Own Lava Lamp
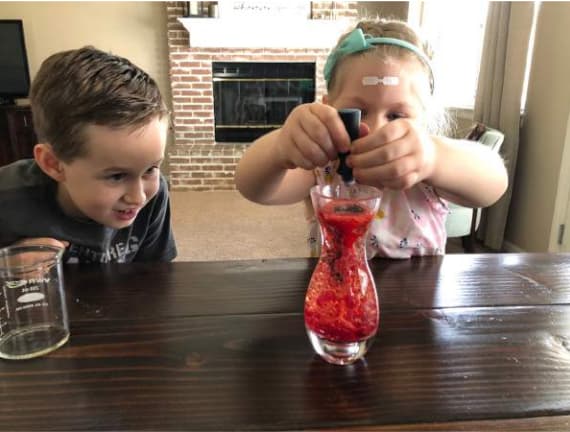
Everyone loves a lava lamp; they’ve been a fascinating household item since they were first introduced in the 60s and 70s.
With this fun activity, you can make one using everyday household items and show your kids how they can create cool technology using scientific knowledge.
All you need for the lava lamp is a clear container, some vegetable oil, water colored with food coloring, and Alka-Seltzer tablets (or anything else that makes a fizz).
You want to use about 5 parts oil to 1 part water.
First fill the container with vegetable oil, with room left for the water. Then add the water, which should form tiny “bubbles” at the base of the container. This is because the water is “polar” while the oil isn’t.
This makes the water molecules clump up to separate them from the oil, like a bunch of magnets all grouping up.
Once the container has the liquids added, break the Alka-Seltzer up into small pieces, throw them in, and watch the bubbles flow around in that hypnotic way everyone loves.
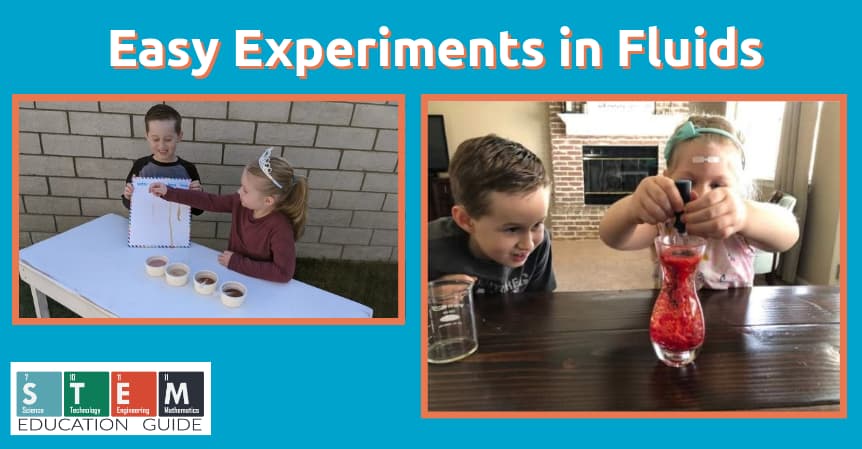
For more quick experiments to do with kids, please check out our Easy Experiments in Fluids article. You probably have all of the items needed for these short experiments.
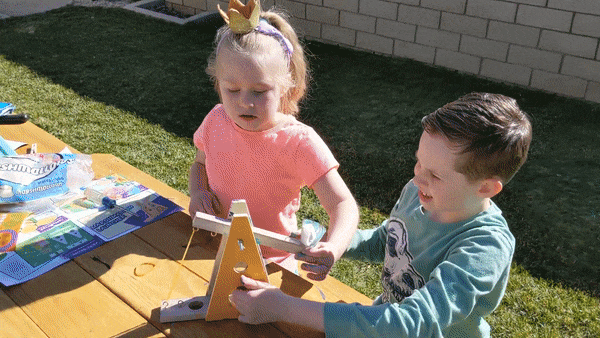
Popsicle Stick Catapult
This is a great building project that all kids love. You can make a basic catapult with just a few popsicle sticks and rubber bands.
To start with, attach a popsicle stick and a spoon together at one end with two rubber bands. This will form the base and the arm of your catapult.
To make the crossbeam, stack 5-8 popsicle sticks on top of each other and attach them firmly with rubber bands at both ends. This cross beam should fit snugly between the base and arm of the catapult.
It should hold up by itself but not be so tight that you can’t pull back on the arm.
Now that you have your catapult, you’re ready to start using it. You can throw marshmallows, Skittles, m&m’s, or anything else you have to hand. One fun thing to do is to have competitions for distance or accuracy.
You can also try and work out which ammunition flies furthest and why!
Check out our article where my kids built a wood catapult with a pre-cut wood kit from The Young Woodworkers Club.
STEM Engineering Activities
Look around you; an engineer created at least 95% of the things around you, or an engineer played a role in their creation.
Engineering is, without a doubt, one of the most admired careers in STEM.
You can explain what engineering is to kids by explaining that there are dozens of different types of engineers. Some well-known ones include electrical engineering, civil, mechanical, software, and more. Each class of engineers has specialized in a completely different thing.
Building with Magna Tiles
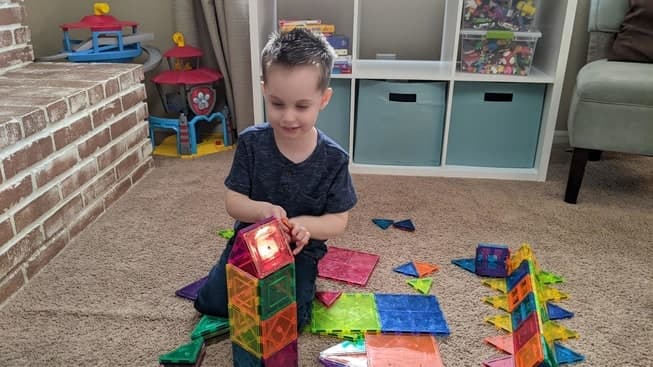
Do you want your toddler to play with educational toys that can be cleaned up in a minute or less? Well, then, you’re going to love Magna Tiles!
These magnetic building tiles are perfect for preschoolers. That said, my older kids (six and nine years old) play with them too.
Kids love that they can quickly and easily click the magnetic tiles together, building anything they can imagine. I love that they can pull them out of their container and through on the floor, then quickly cleaned-up because the tiles snap together.
I recommend Magna-Tiles, and in my article comparing other top brands, I found them the best.
You can find the current price of Magna-Tiles here.
Tallest Tower
This is an excellent challenge for a group of kids. It’s perfect for those that have a competitive spirit. It asks kids to think about how to build something and make it strong while working with constraints.
This activity is simple and requires almost no set-up. All it needs is enough basic crafting supplies to build a tower. The idea is to provide enough supplies to build something, but not make it too easy!
Newspaper and sticky tape are good possible choices of building materials. You could also use Play-Doh or dry spaghetti and a glue gun!
Each individual or group should be given the same set of supplies and asked to build a tower that is as tall as possible. The tower should be able to stand up without being held up or needing any external support, and the kids can only use the supplies provided.
You can make it more difficult for older kids by putting on additional restrictions. This might limit the number of materials provided, say only two pre-cut strips of tape.
Younger kids might also be encouraged to decorate their tower any way they want.
Egg Drop Experiment
The egg drop is a classic engineering activity that works great for all ages. The goal is to save an egg from a long fall by making a protective container.
Saving an egg from a fall shows kids how they can build useful things with even minimal materials.
Make sure you provide your kids with sufficient materials to protect the egg. Great things to use are cardboard tubes, cereal boxes, egg cartons, milk jugs, pipe cleaners, or straws.
The more different materials you provide, the more creative your kids can get.
Once the egg protector has been designed and built, it’s time to test it. This is where the real fun begins! It would be best if you chose a height appropriate for the participants.
Young children might be asked to protect the egg from a drop of 6 feet, while older ones might want to aim to protect the egg from longer drops.
You can also do a “test to destruction” of the container where you keep raising the height to see what the biggest drop it can take.
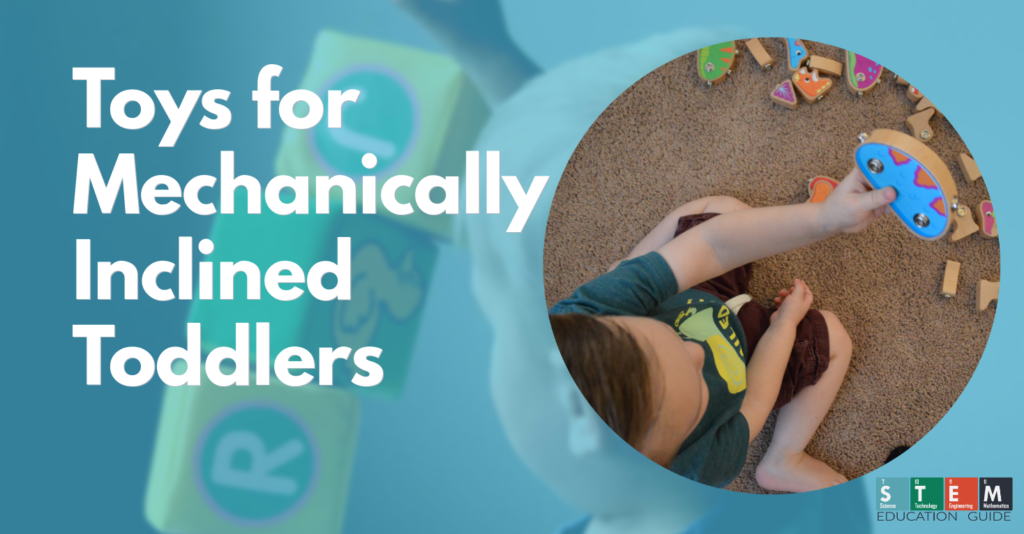
Is your child curious about mechanics and building? They might be mechanically inclined. In this article, we answer how to identify a mechanically inclined toddler, and a round-up of the best kinds of toys for them.
STEM Mathematics Activities
Math is such an essential part of learning and integral to other subjects. I try and make math activities for preschoolers as fun as possible, so they stay interested.
Making Snowflakes
Here’s a great activity that’s free, fun, and teaches kids about geometry and spatial reasoning. It can be hard to get younger kids excited about math. The trick is to do something hands-on and then explain the math after they’ve done it!
This activity only needs scissors and sheets of paper. That’s it!
The traditional six-pointed snowflake can be made starting with a square piece of paper, then folding it in half diagonally, leaving an (isosceles) triangle.
Then fold the triangle in half down the middle to get a smaller isosceles triangle. Finally, fold the corners over the centerline, leaving you with an arrow.
To make the snowflake, cut out pieces of the folded arrow however you want. Once you’re happy with the cut-outs, unfold it to make your six-pointed snowflake. You can mix things up by folding the original sheet differently or starting with a regular-shaped rectangular letter paper.
There are lots of different things you can change that will make the result completely different! Try and see how to make an 8-pointed or 10-pointed star.
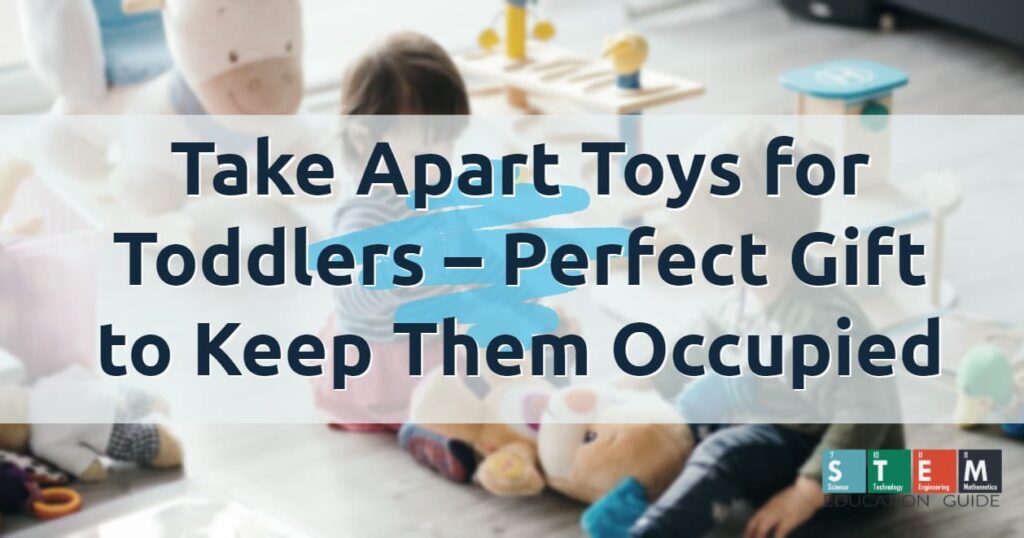
Toddlers love to take things apart. Whether they are taking apart some model or something an older sibling has created. Take-apart toys have become popular because they are made for toddlers, so they don’t get frustrated pulling them apart and putting them back together. Join us in our article as we share the best take-apart toys for toddlers.
Comparing Volumes of Differently Shaped Pillars
This activity teaches some crucial fundamentals of shapes, area, and volume while also being a fun demonstration in engineering.
To start, you simply need three sheets of paper to fold into tubes and something you can use to fill the tubes up.
Something like popcorn works excellent and has the bonus of being able to be eaten afterward! Lentils, dried beans, or grains can also work in a pinch.
This activity aims to take three sheets of paper to create three different kinds of a pillar, each with a different base type. One should be a square base, one a triangle base, and one a circular base.
Have your kid guess which one they think will hold the most and which will hold the least. Then you place the tubes inside identical bowls and fill them up.
Once they’re full, remove the tubes, let the popcorn fall into the bowls, and see which holds the most. You should see that the circle holds the most while the triangle holds the least – even though they were all made of the same sheet of paper!
Another fun twist is to make the tubes lengthwise, so they’re shorter and broader, and compare that to the tall thin ones. How does this affect the volume of the tubes?
Wrapping Up
These are just some easy-to-do STEM activities for preschoolers. I choose these because you don’t need many items, and they only take a few minutes to set up.
Don’t forget to modify them for your kids’ needs. You know them best and their abilities.
Please check out our list if you’re looking for the best STEM books for preschoolers.